Molding and Casting
11/03/2021
design a mold around the stock and tooling that you'll be using
mill it (rough cut + (at least) three-axis finish cut)
and use it to cast parts
This week I spend a lot of time screwing around trying to find the equation for a surface. I ended up just going with a revolved damped sine wave, but I thought it would be super cool if I could get the equation for a more advanced idea, specifically for a black hole's binary inspiral.

I wasn't able to do this, but if a future year is reading this, I'd love to see it done, feel free to find me somehow and email me about it.
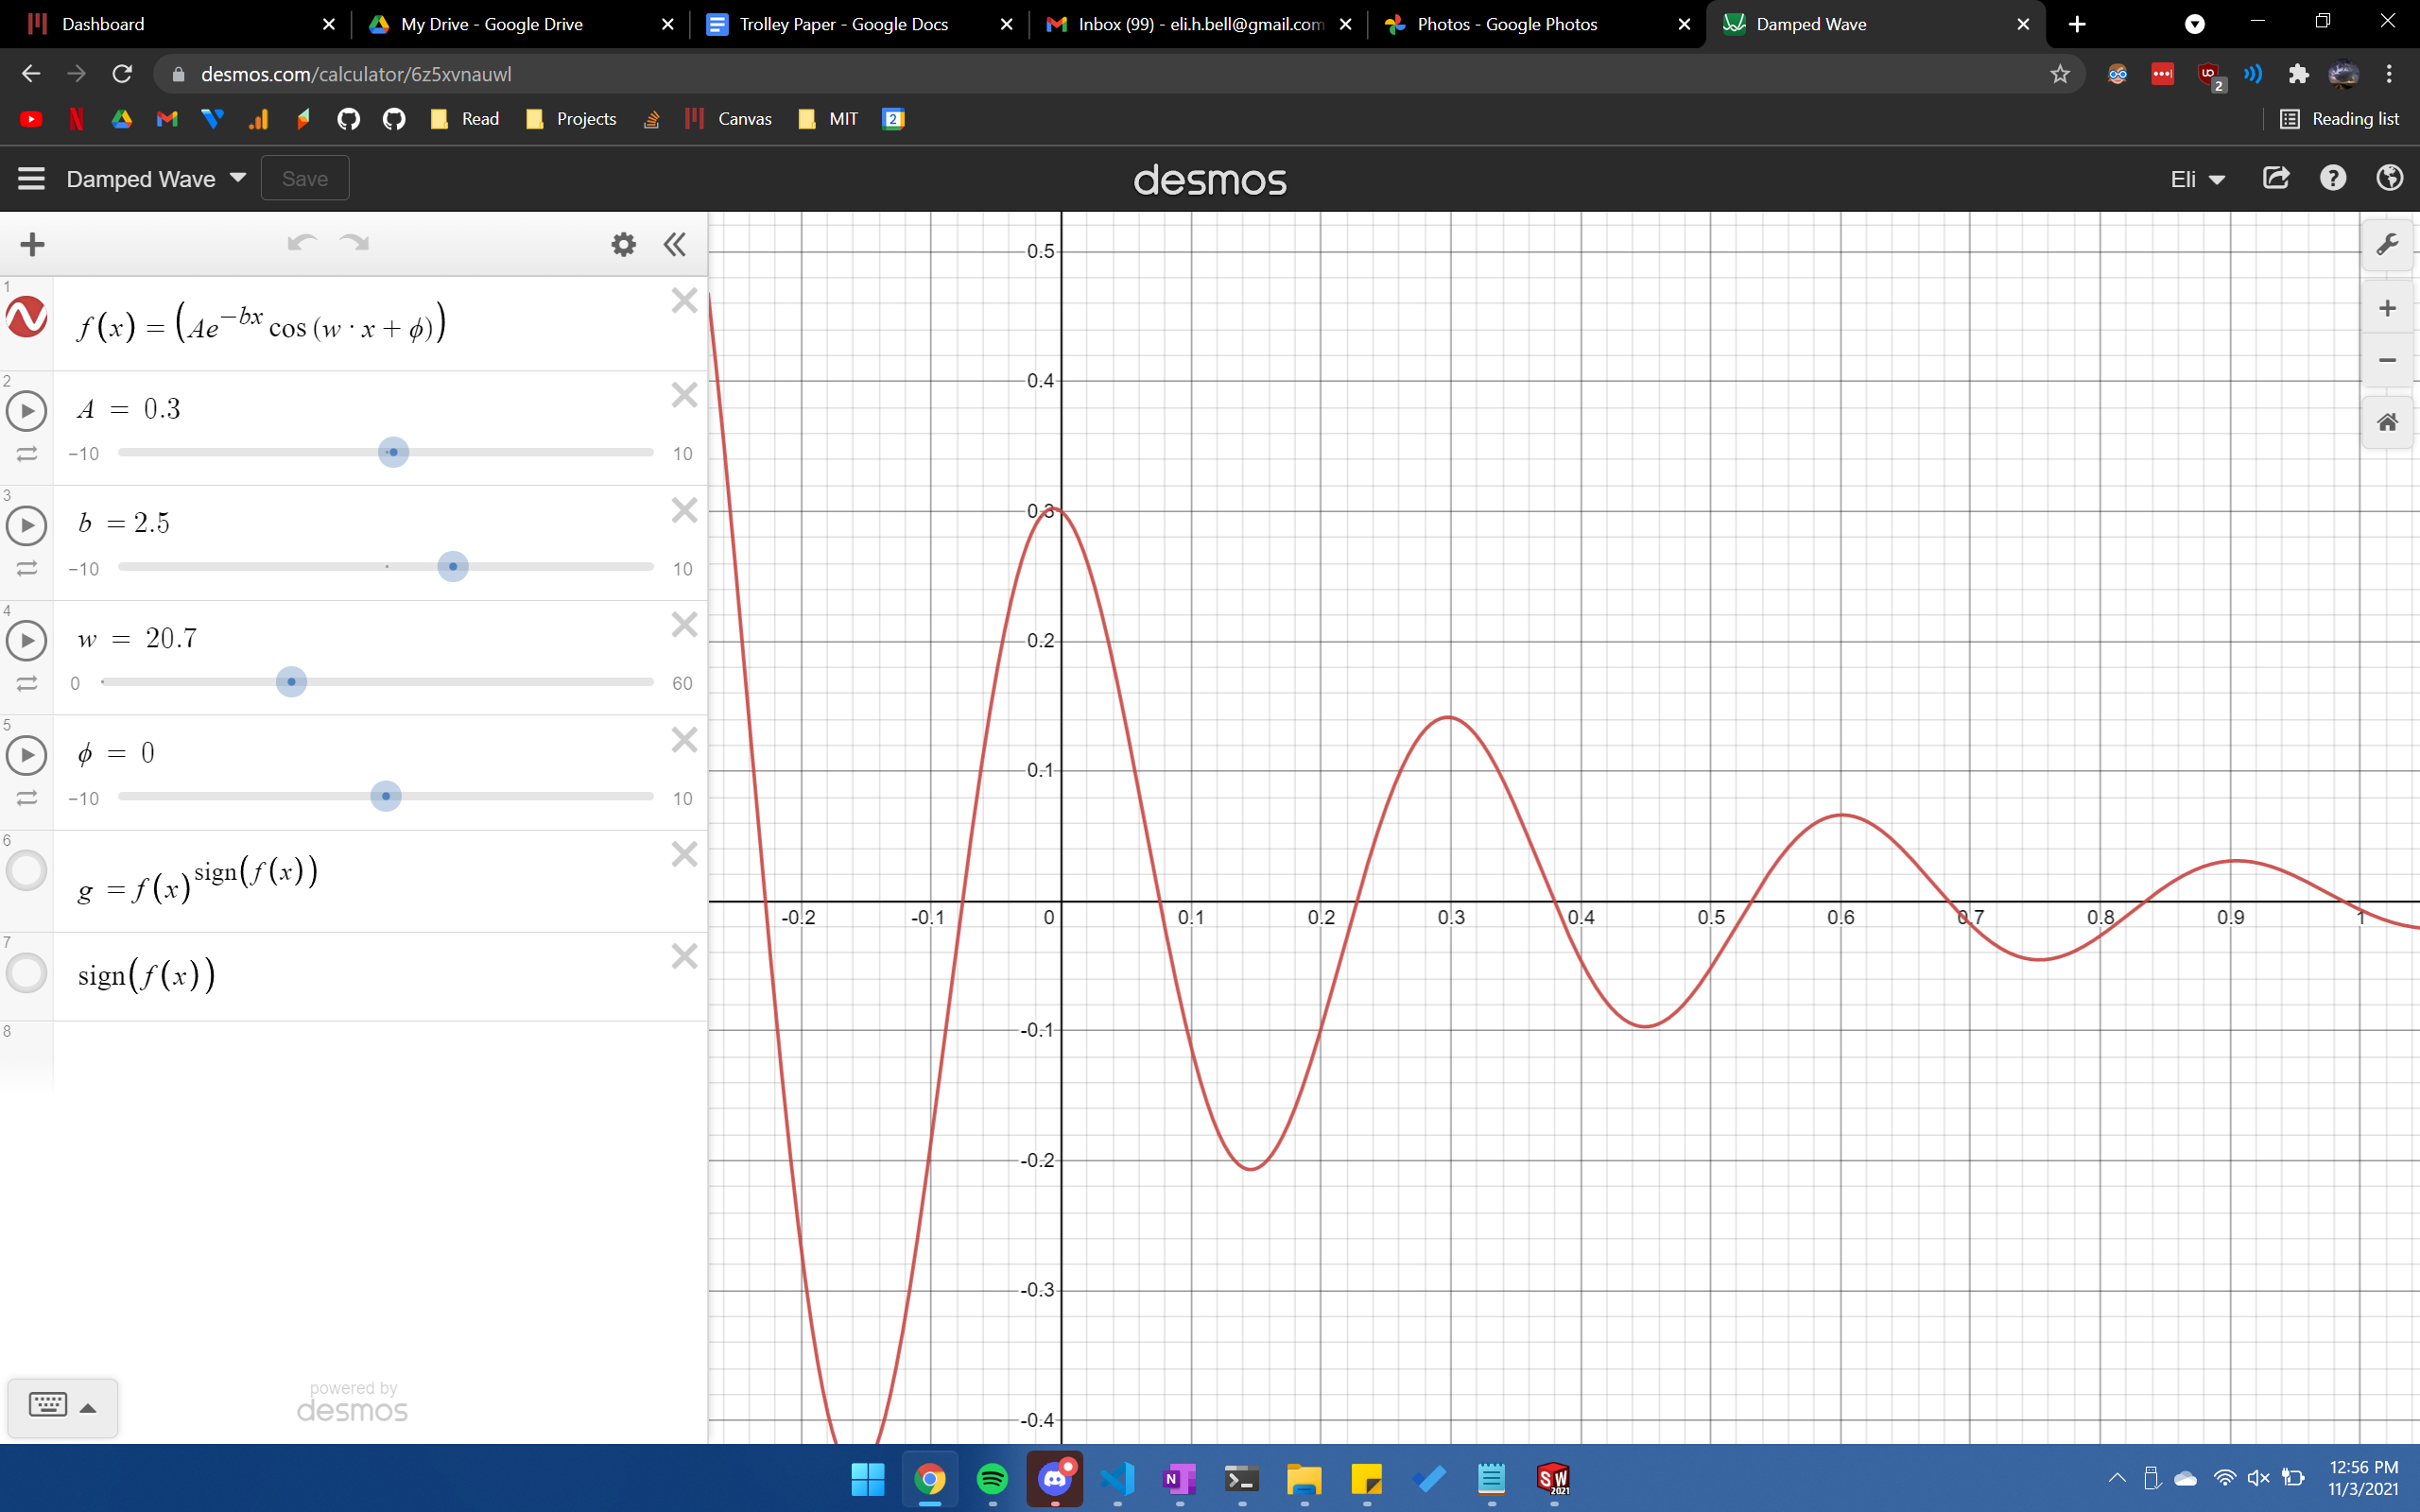
Anyways, to do the damped sine wave, I first went in to Desmos to find the constants that gave me the equation for the line that I wanted. After messing around for probably an hour and a half I got:
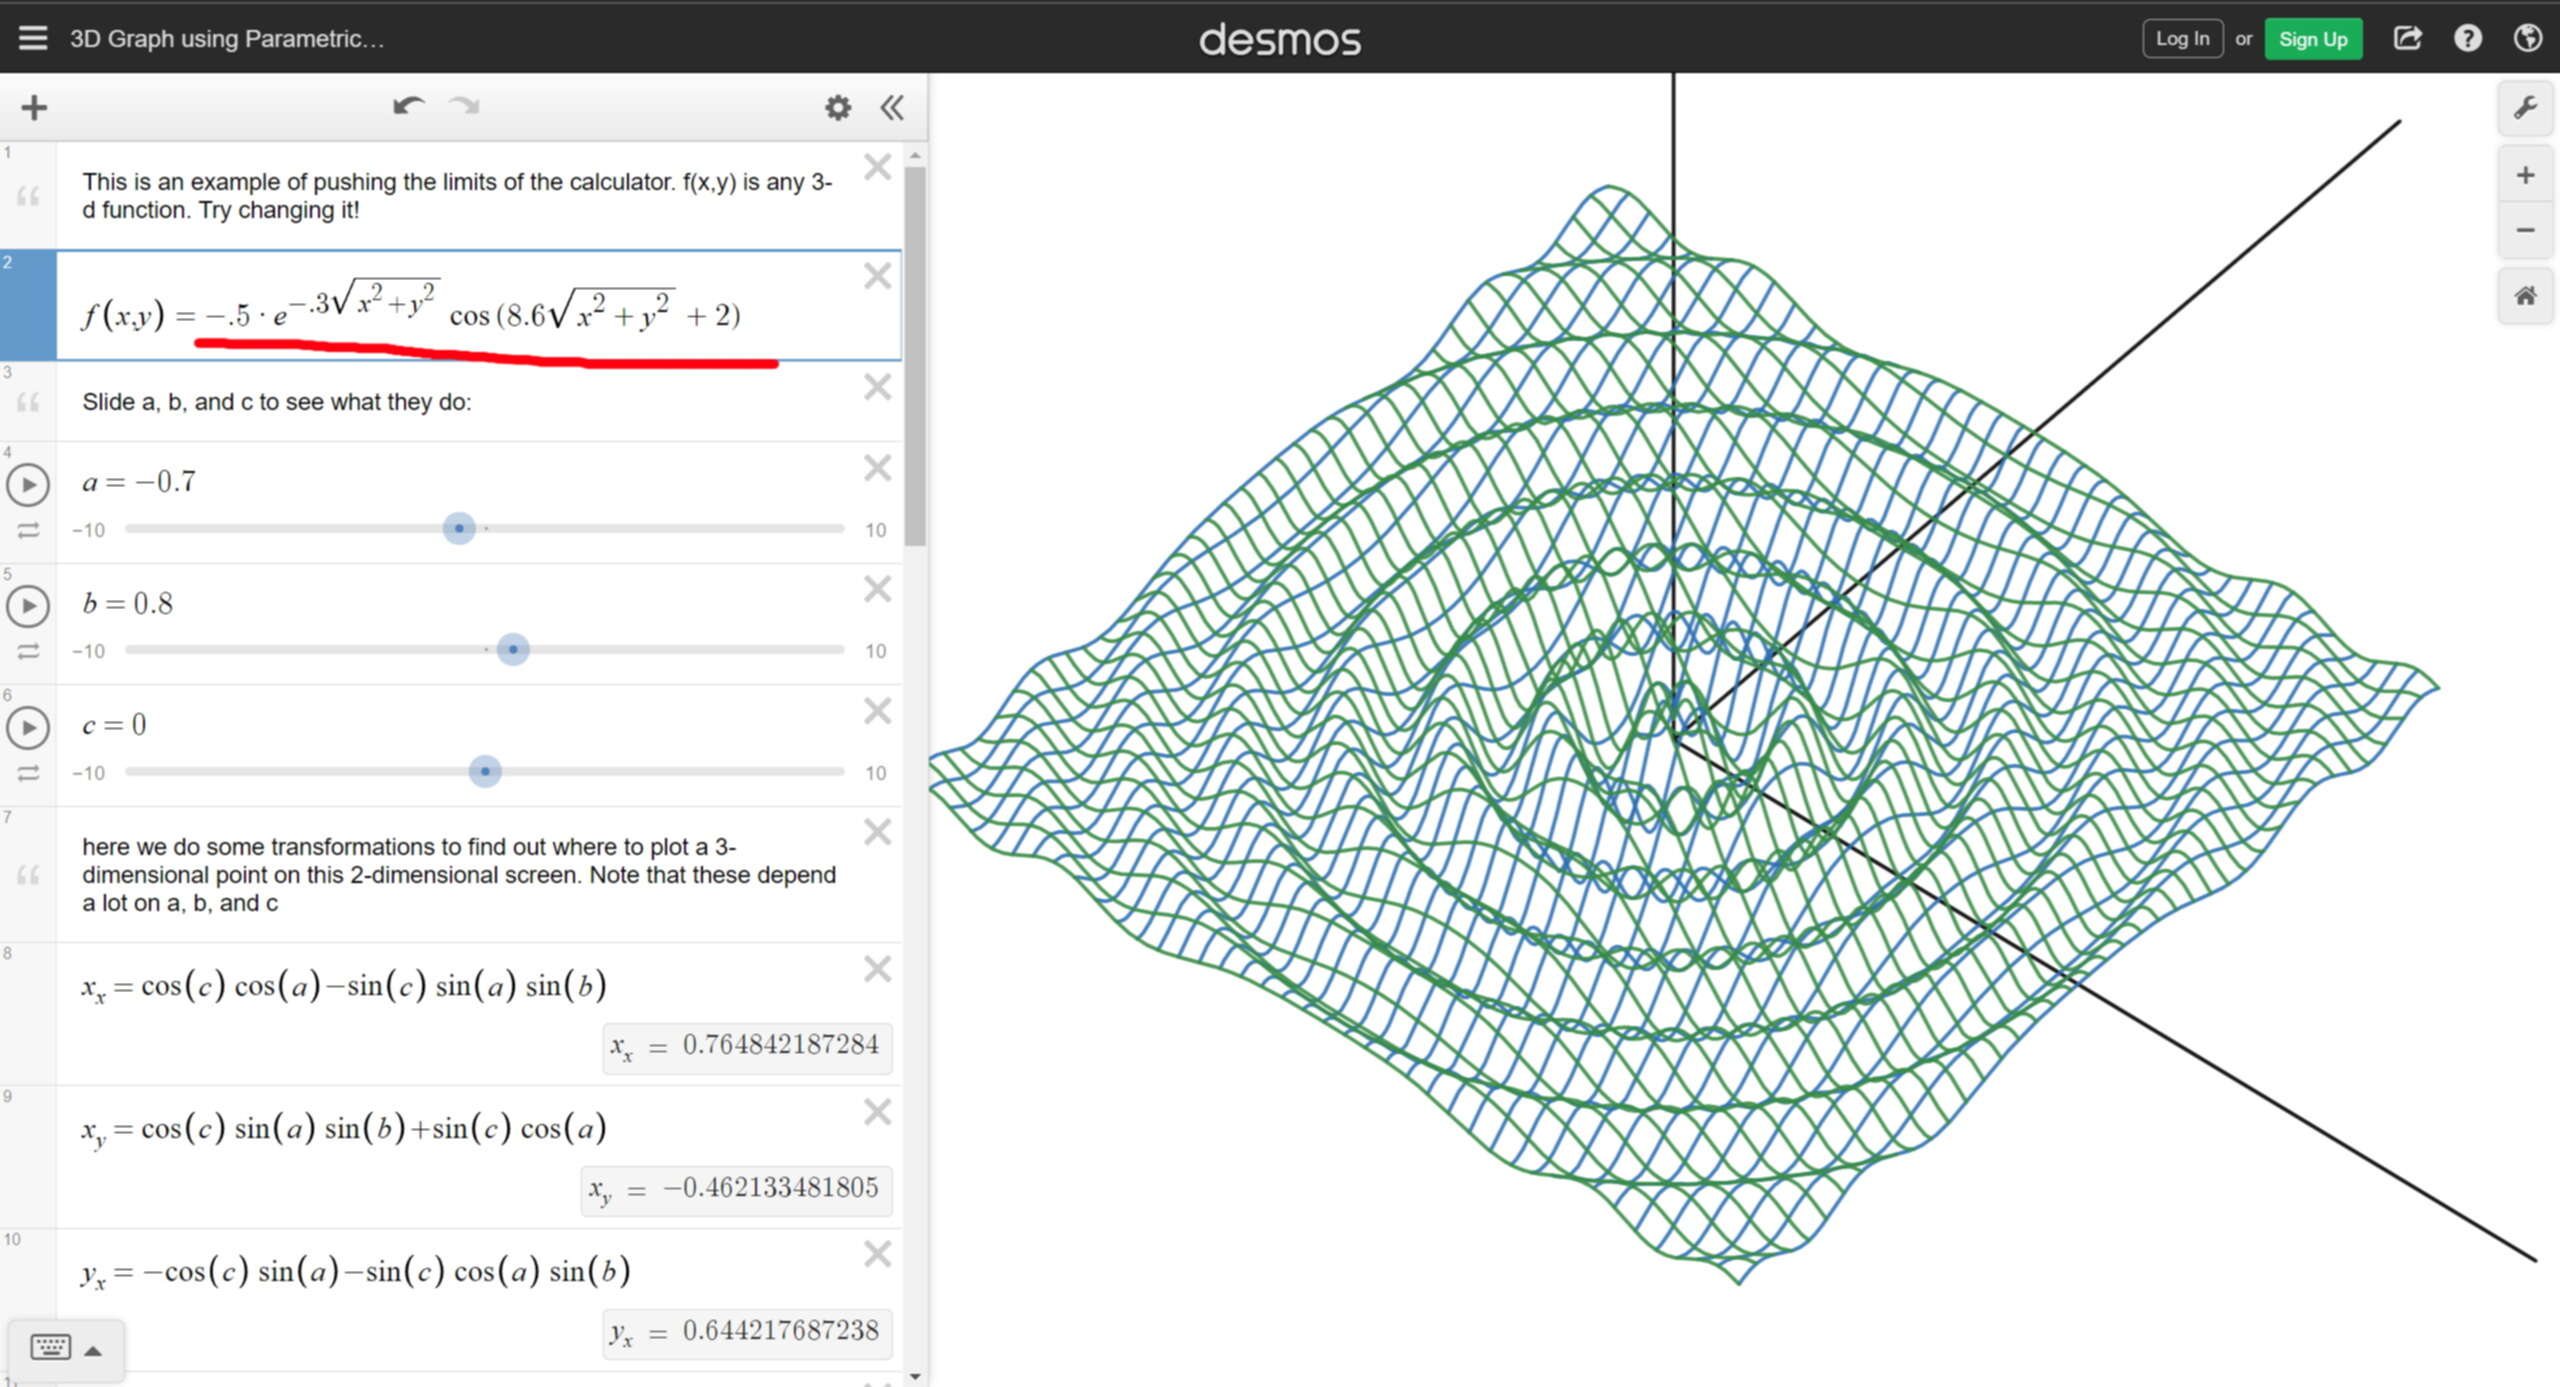
From there I found some 3D grapher in Desmos, converted my equation to polar coordinates, and stuck it in.
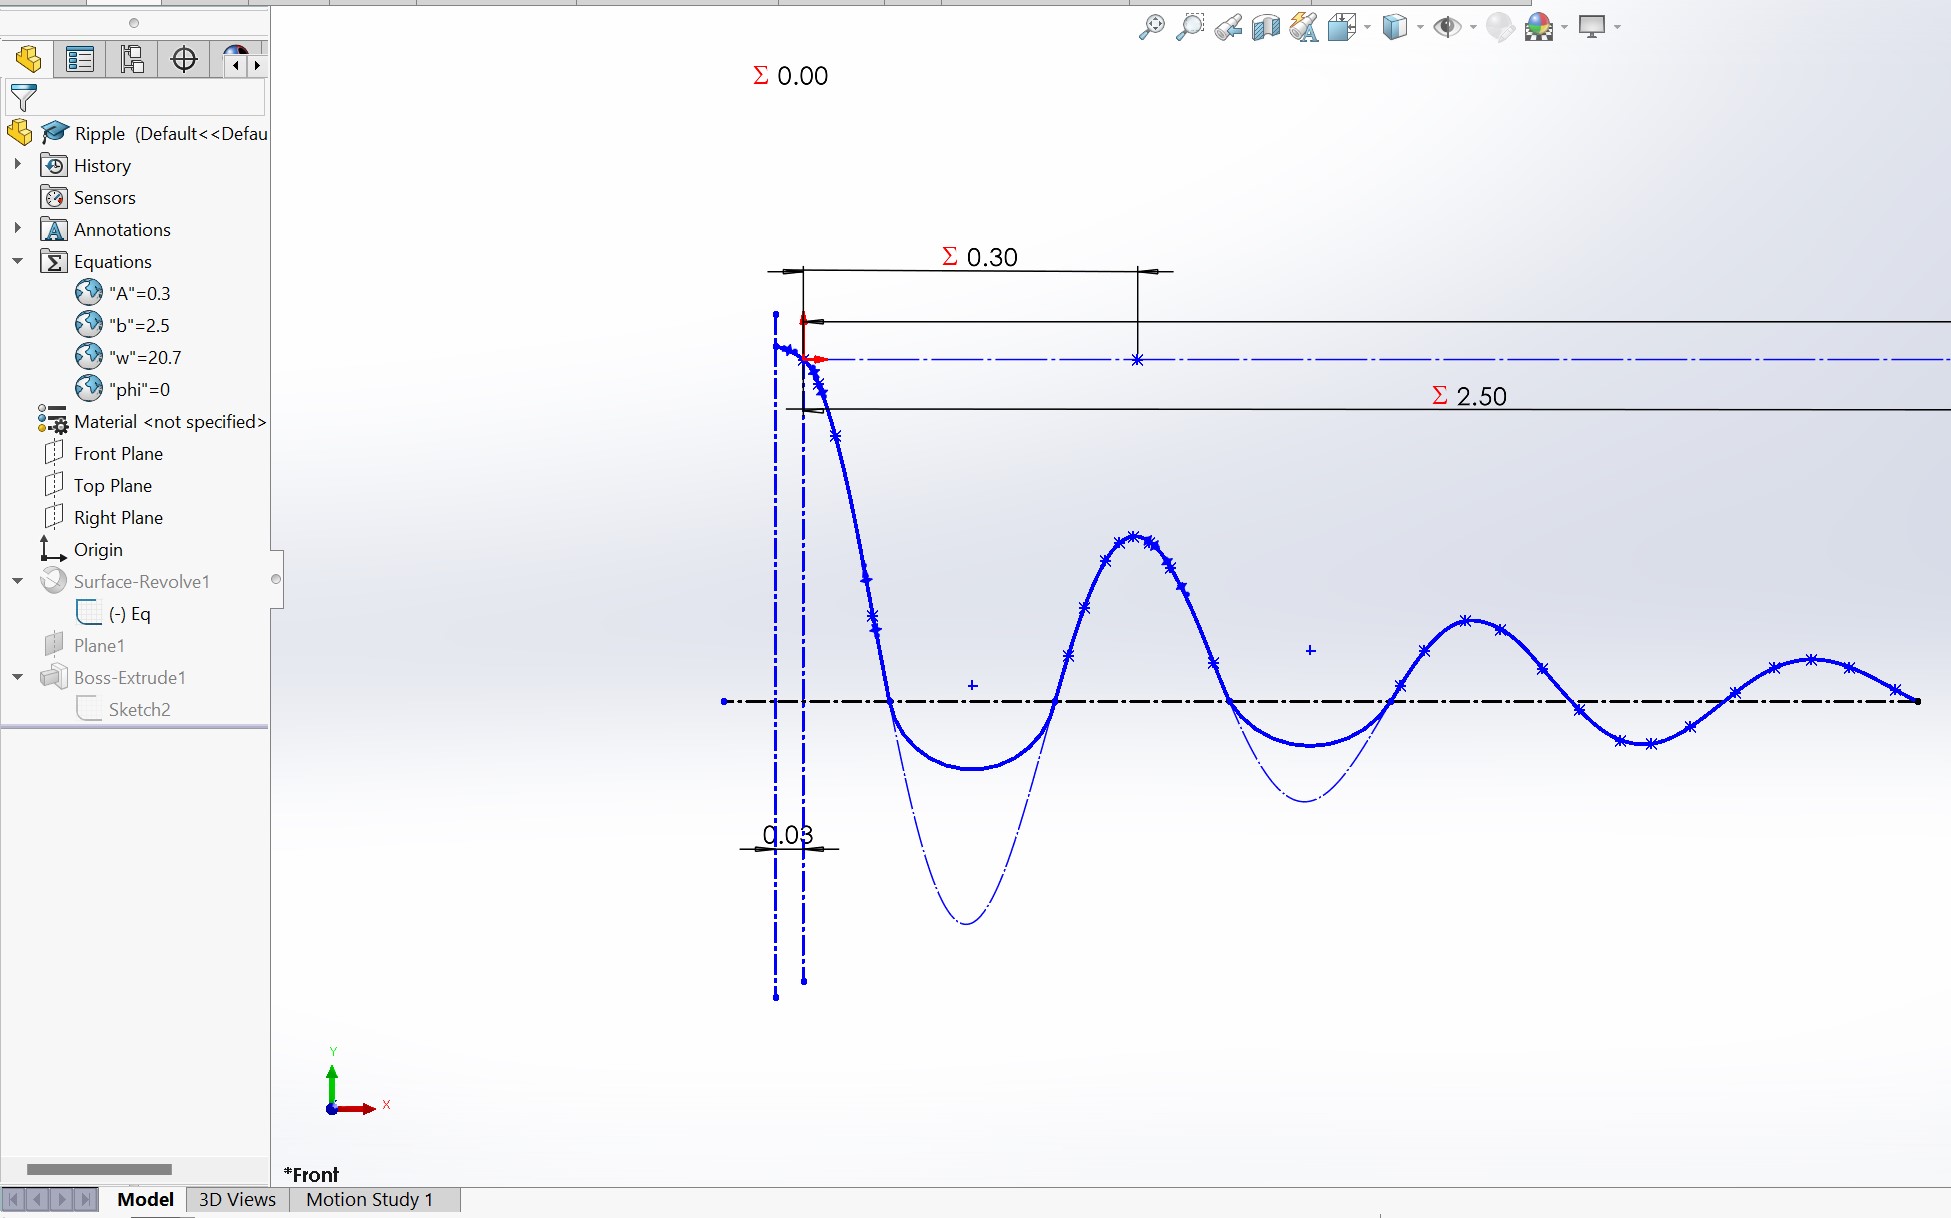
Looks good! The next step was to put it into SolidWorks which has a feature called equation driven curve. I used that to just plug in the equation and get out the curve I wanted. However, because I didn't want the underside to stick down further than it needed to making the amulet-thingo bigger than it needed to be, I altered the equation making the troughs shallower.
After setting up a time with a TA in the architecture section, I got the wax milled. The first mill is just roughing out and removing as much material as possible. The following passes clean it up and give it a smoother surface.
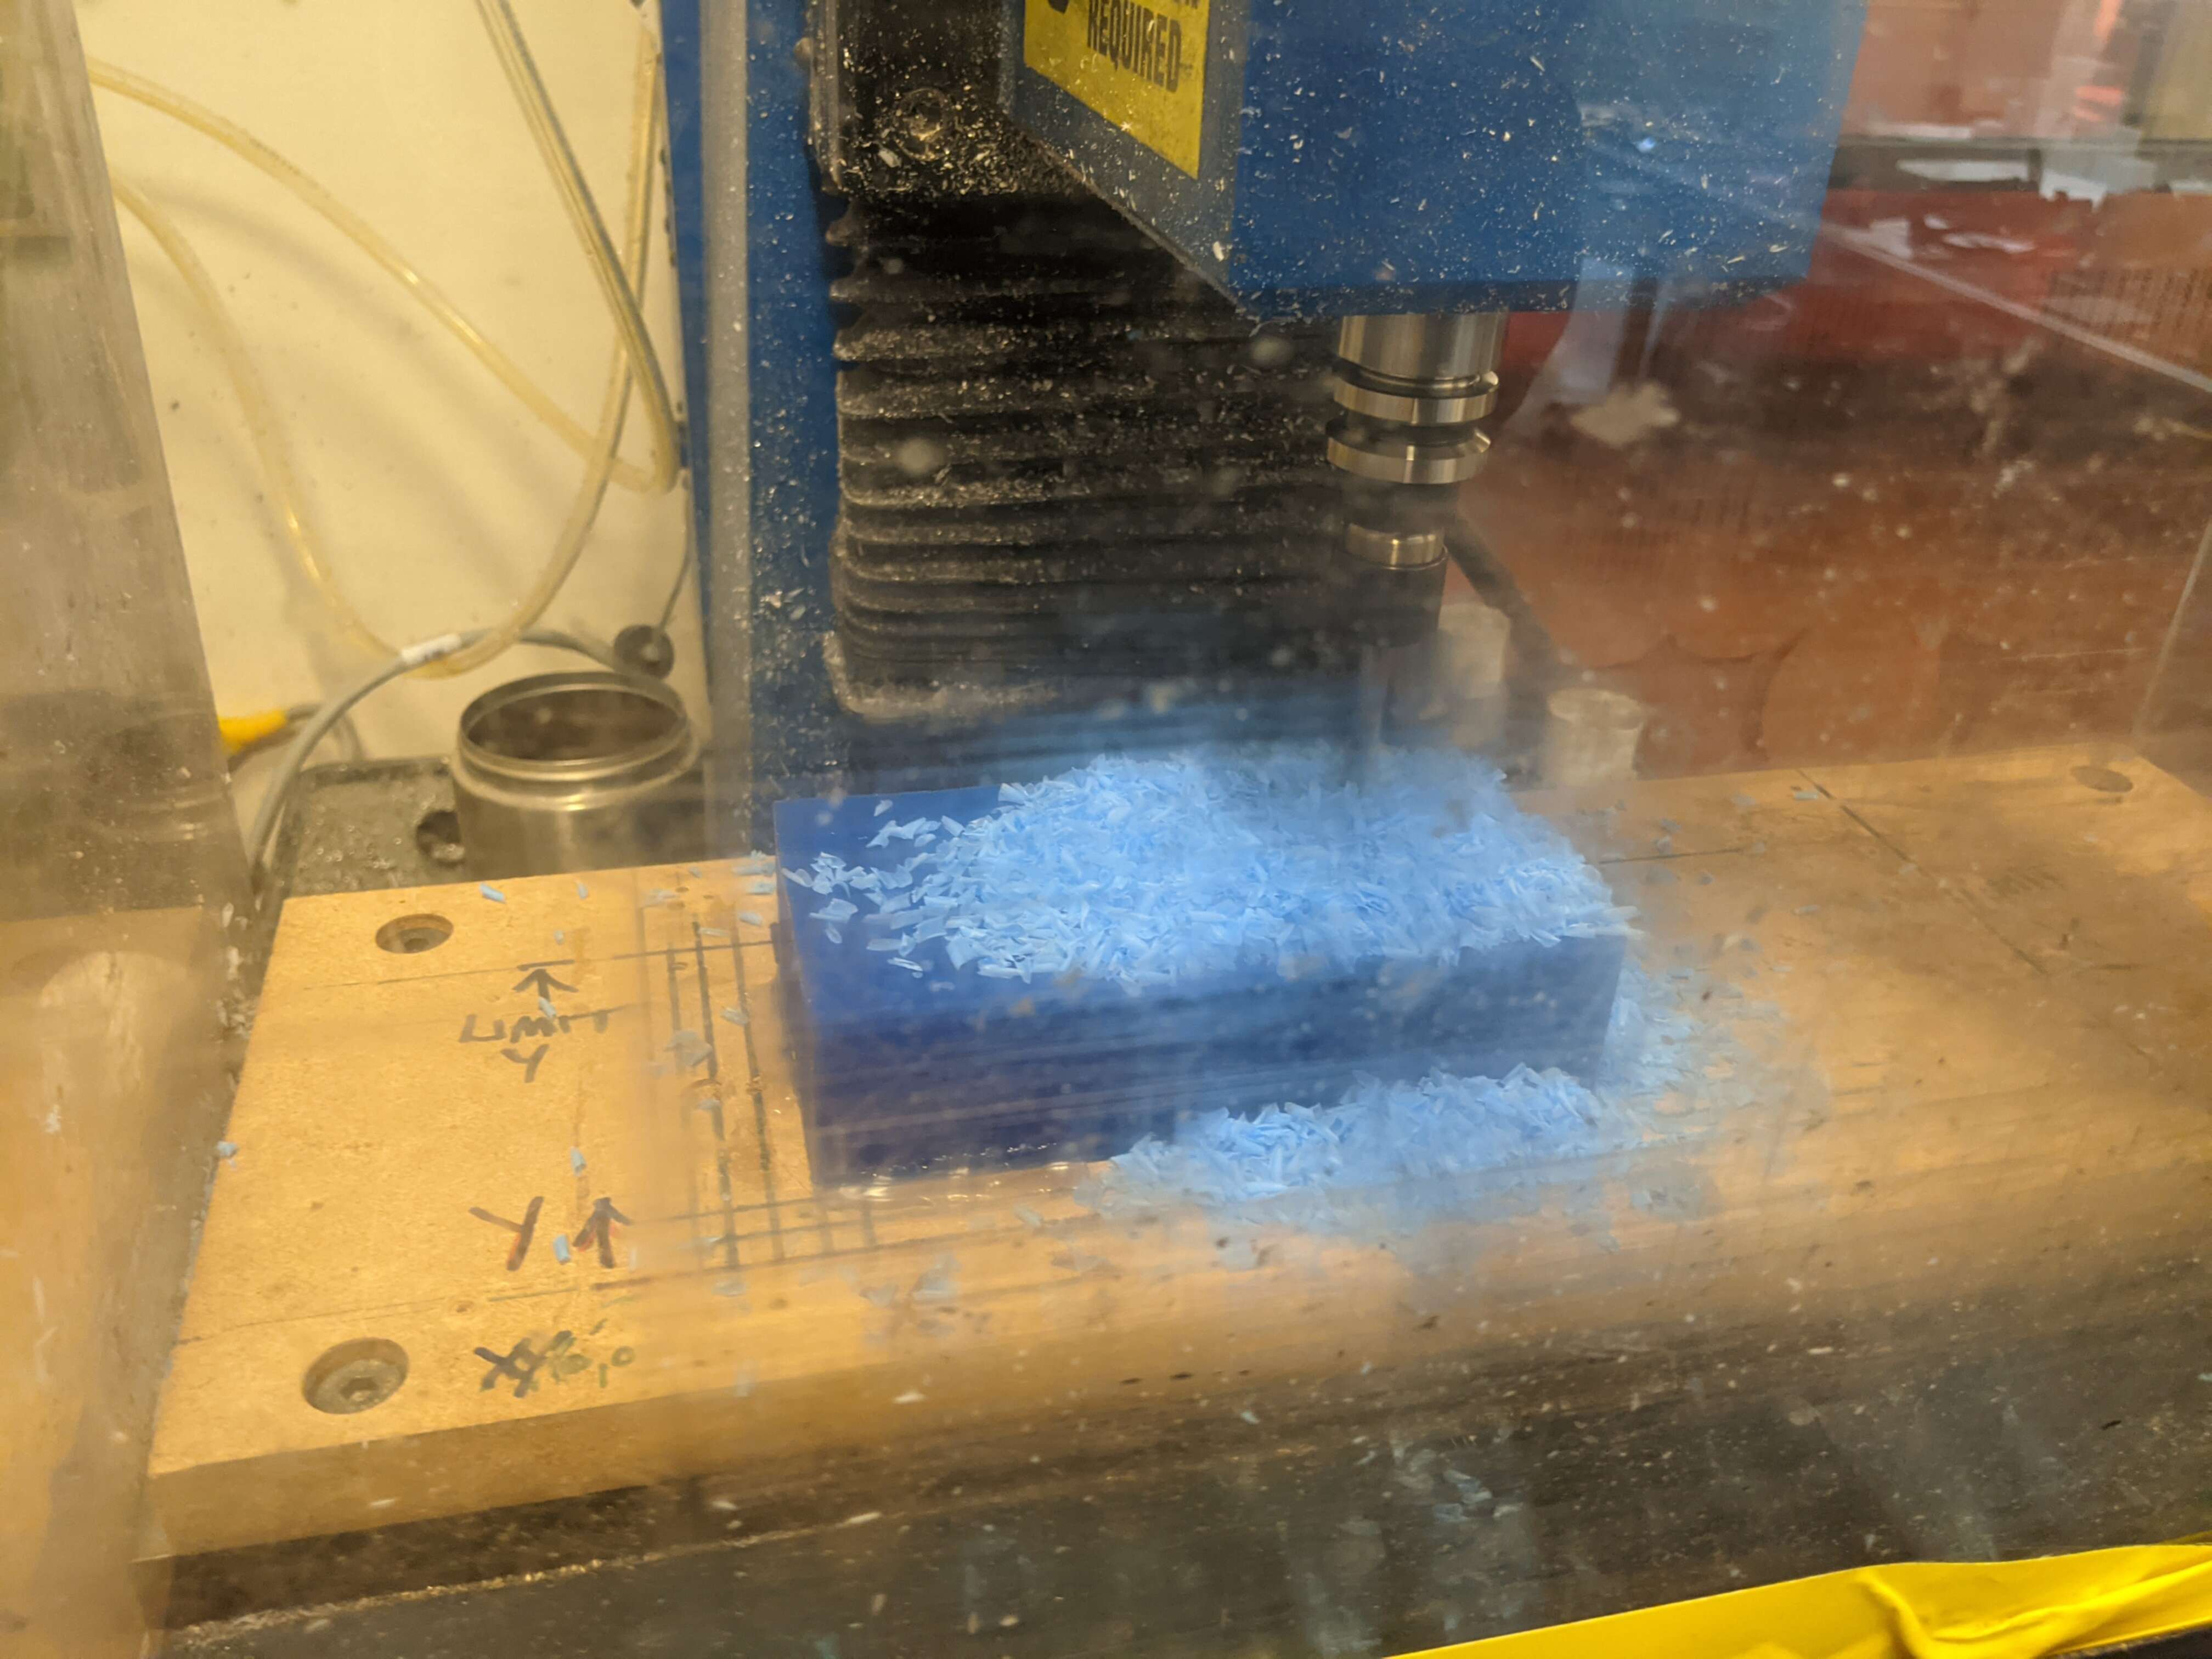
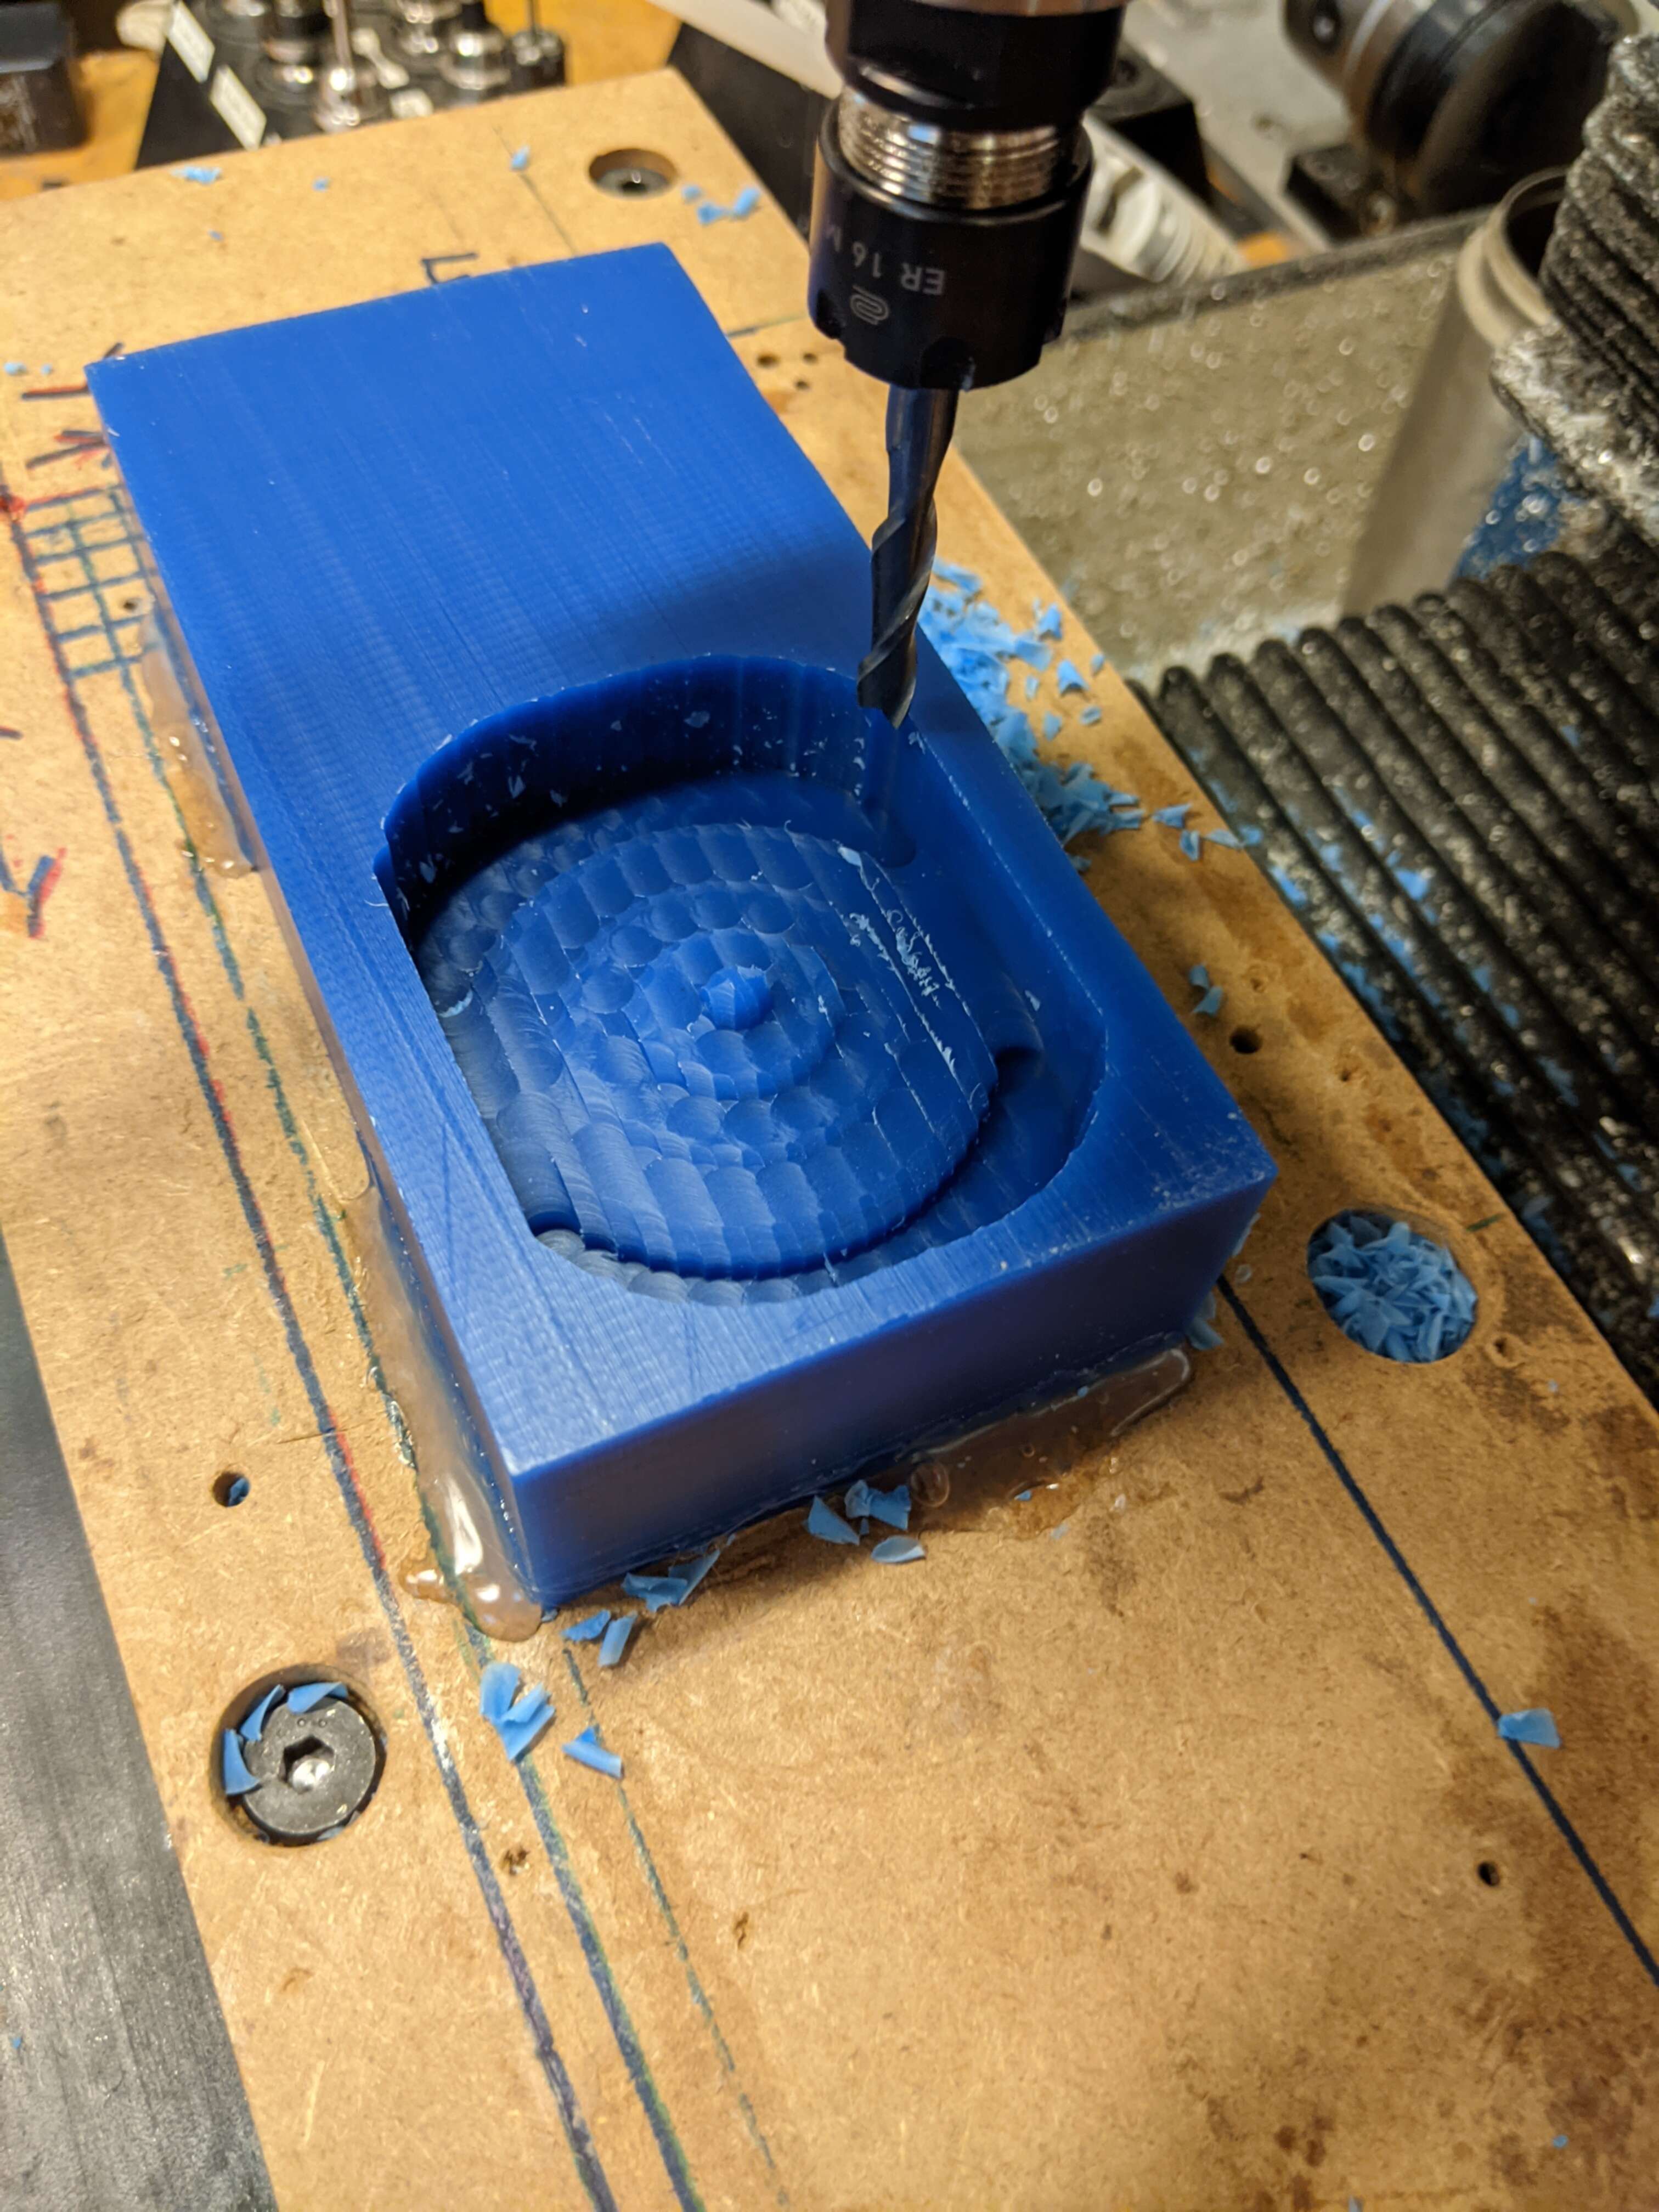
You can see the little side artifacts that were left over from the previous run are gone now.
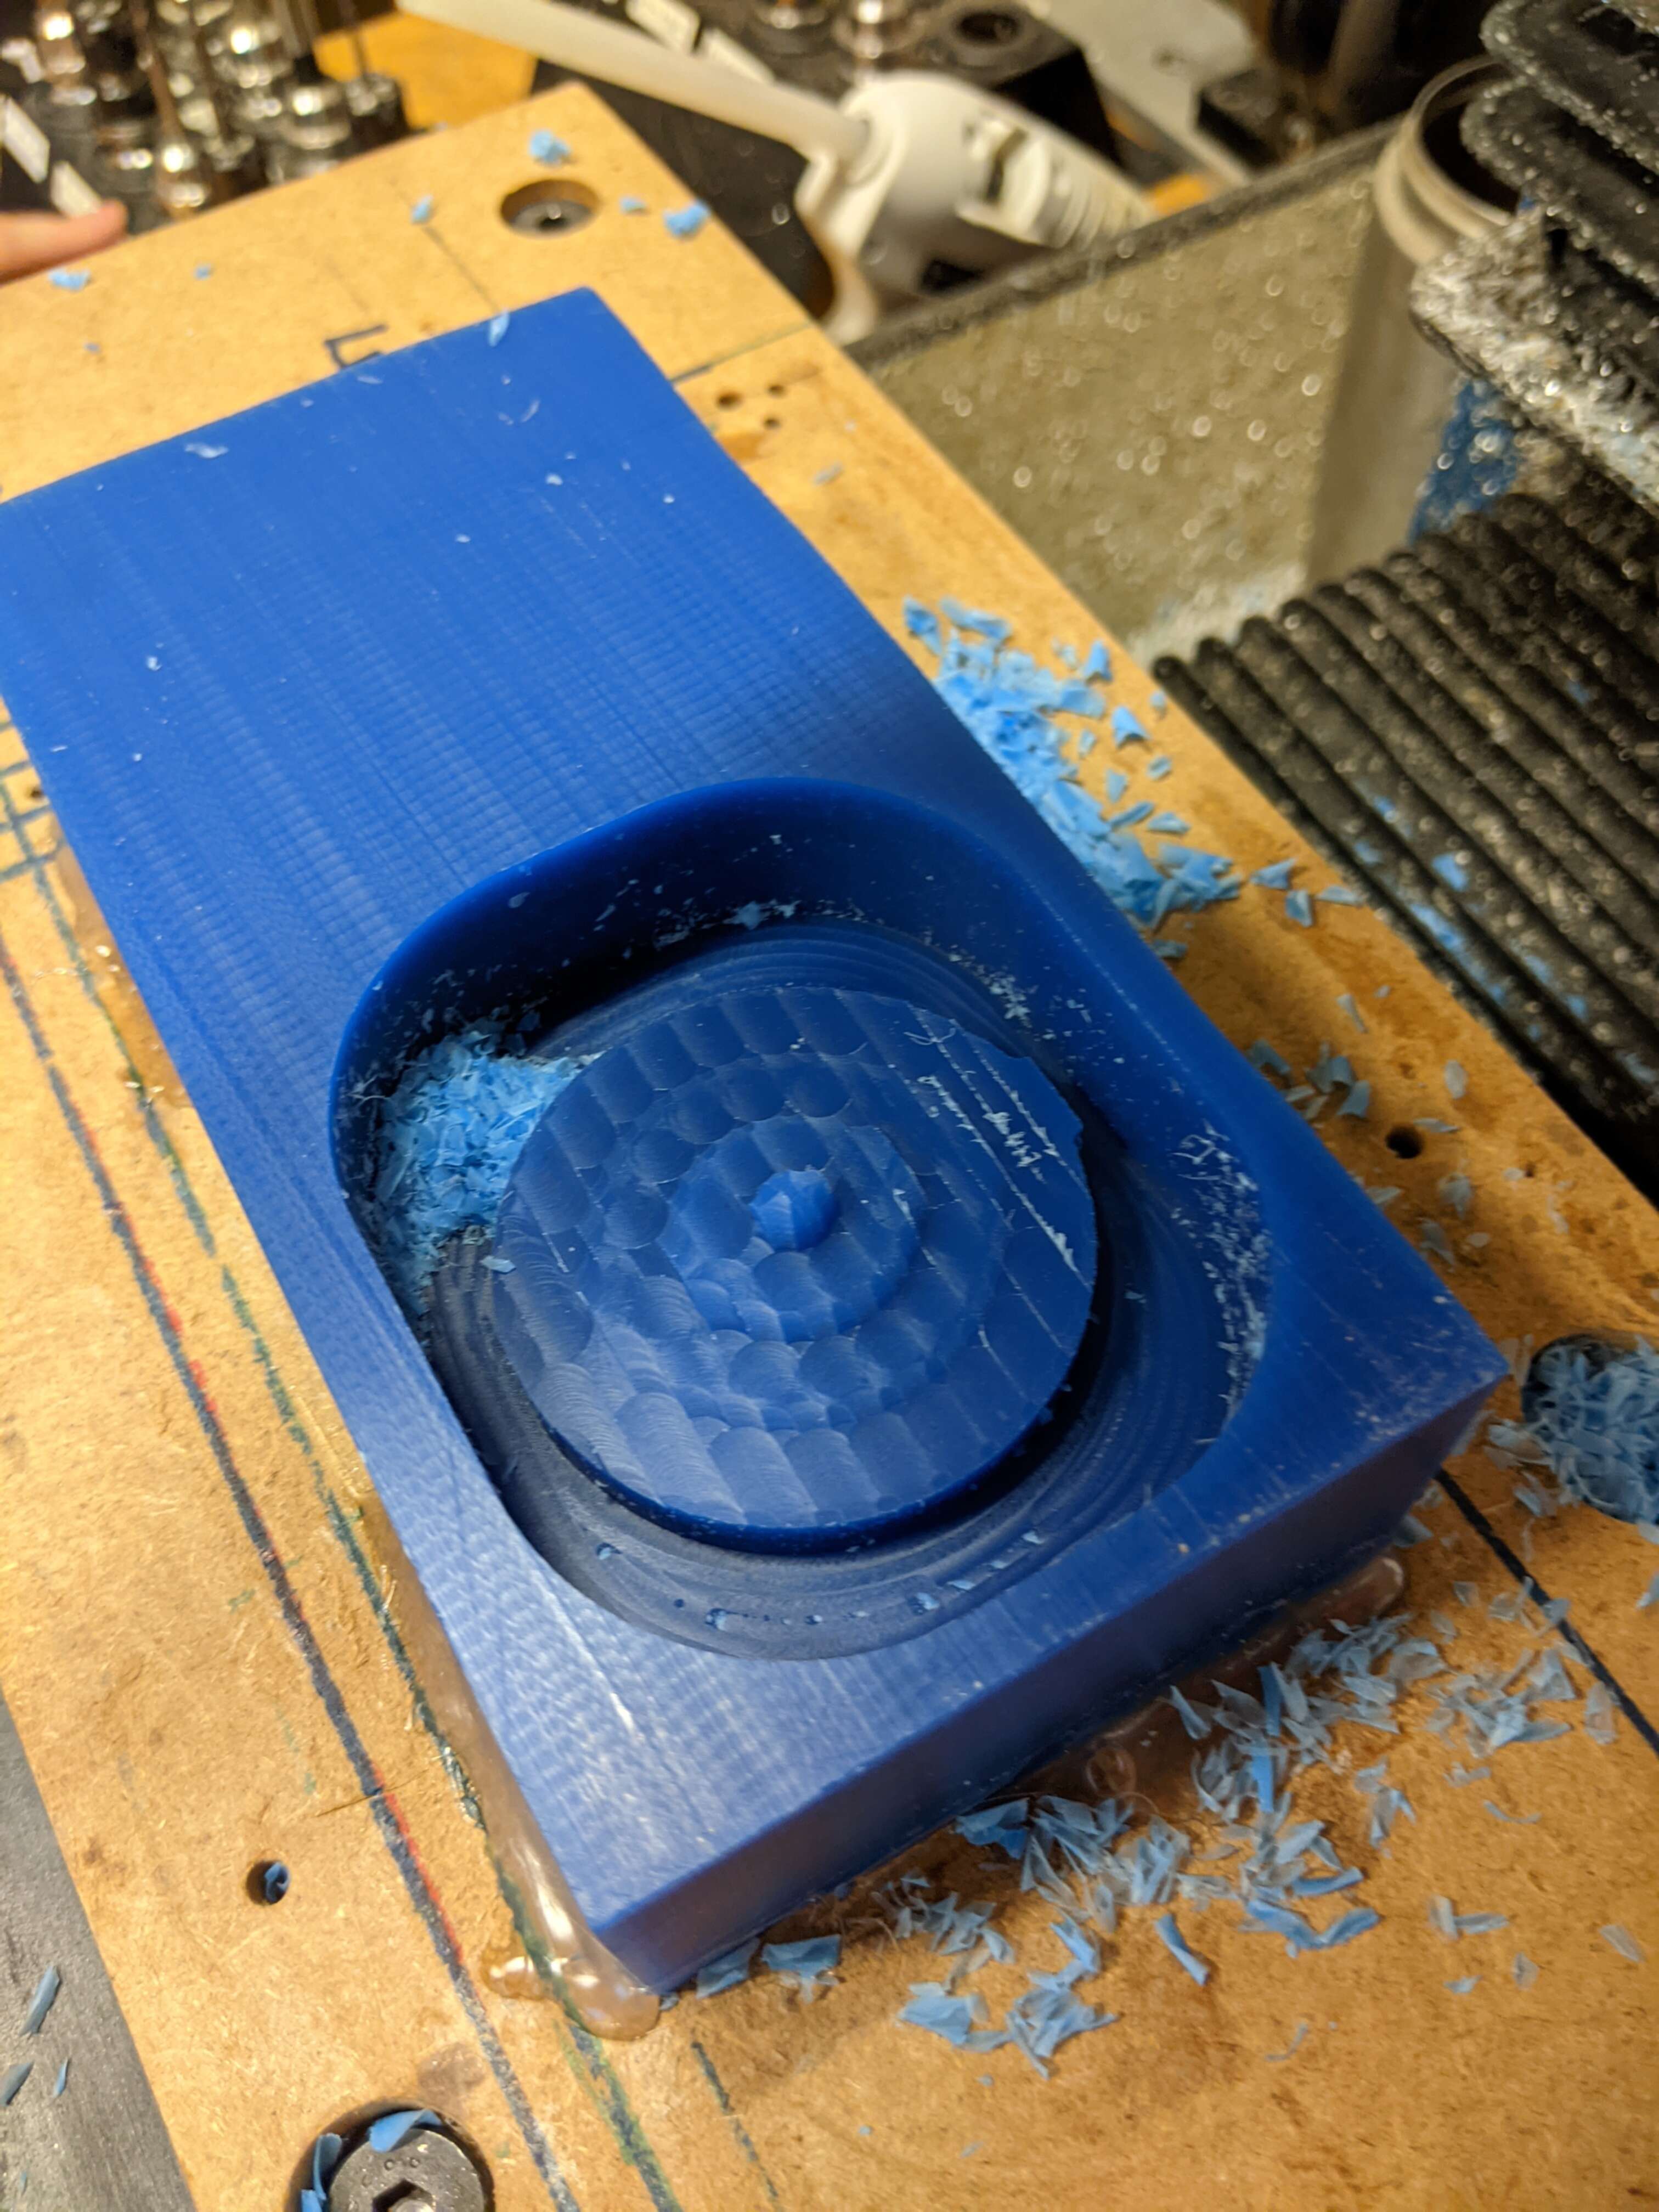
Finally, the surface is smoothed out to the final dimensions.
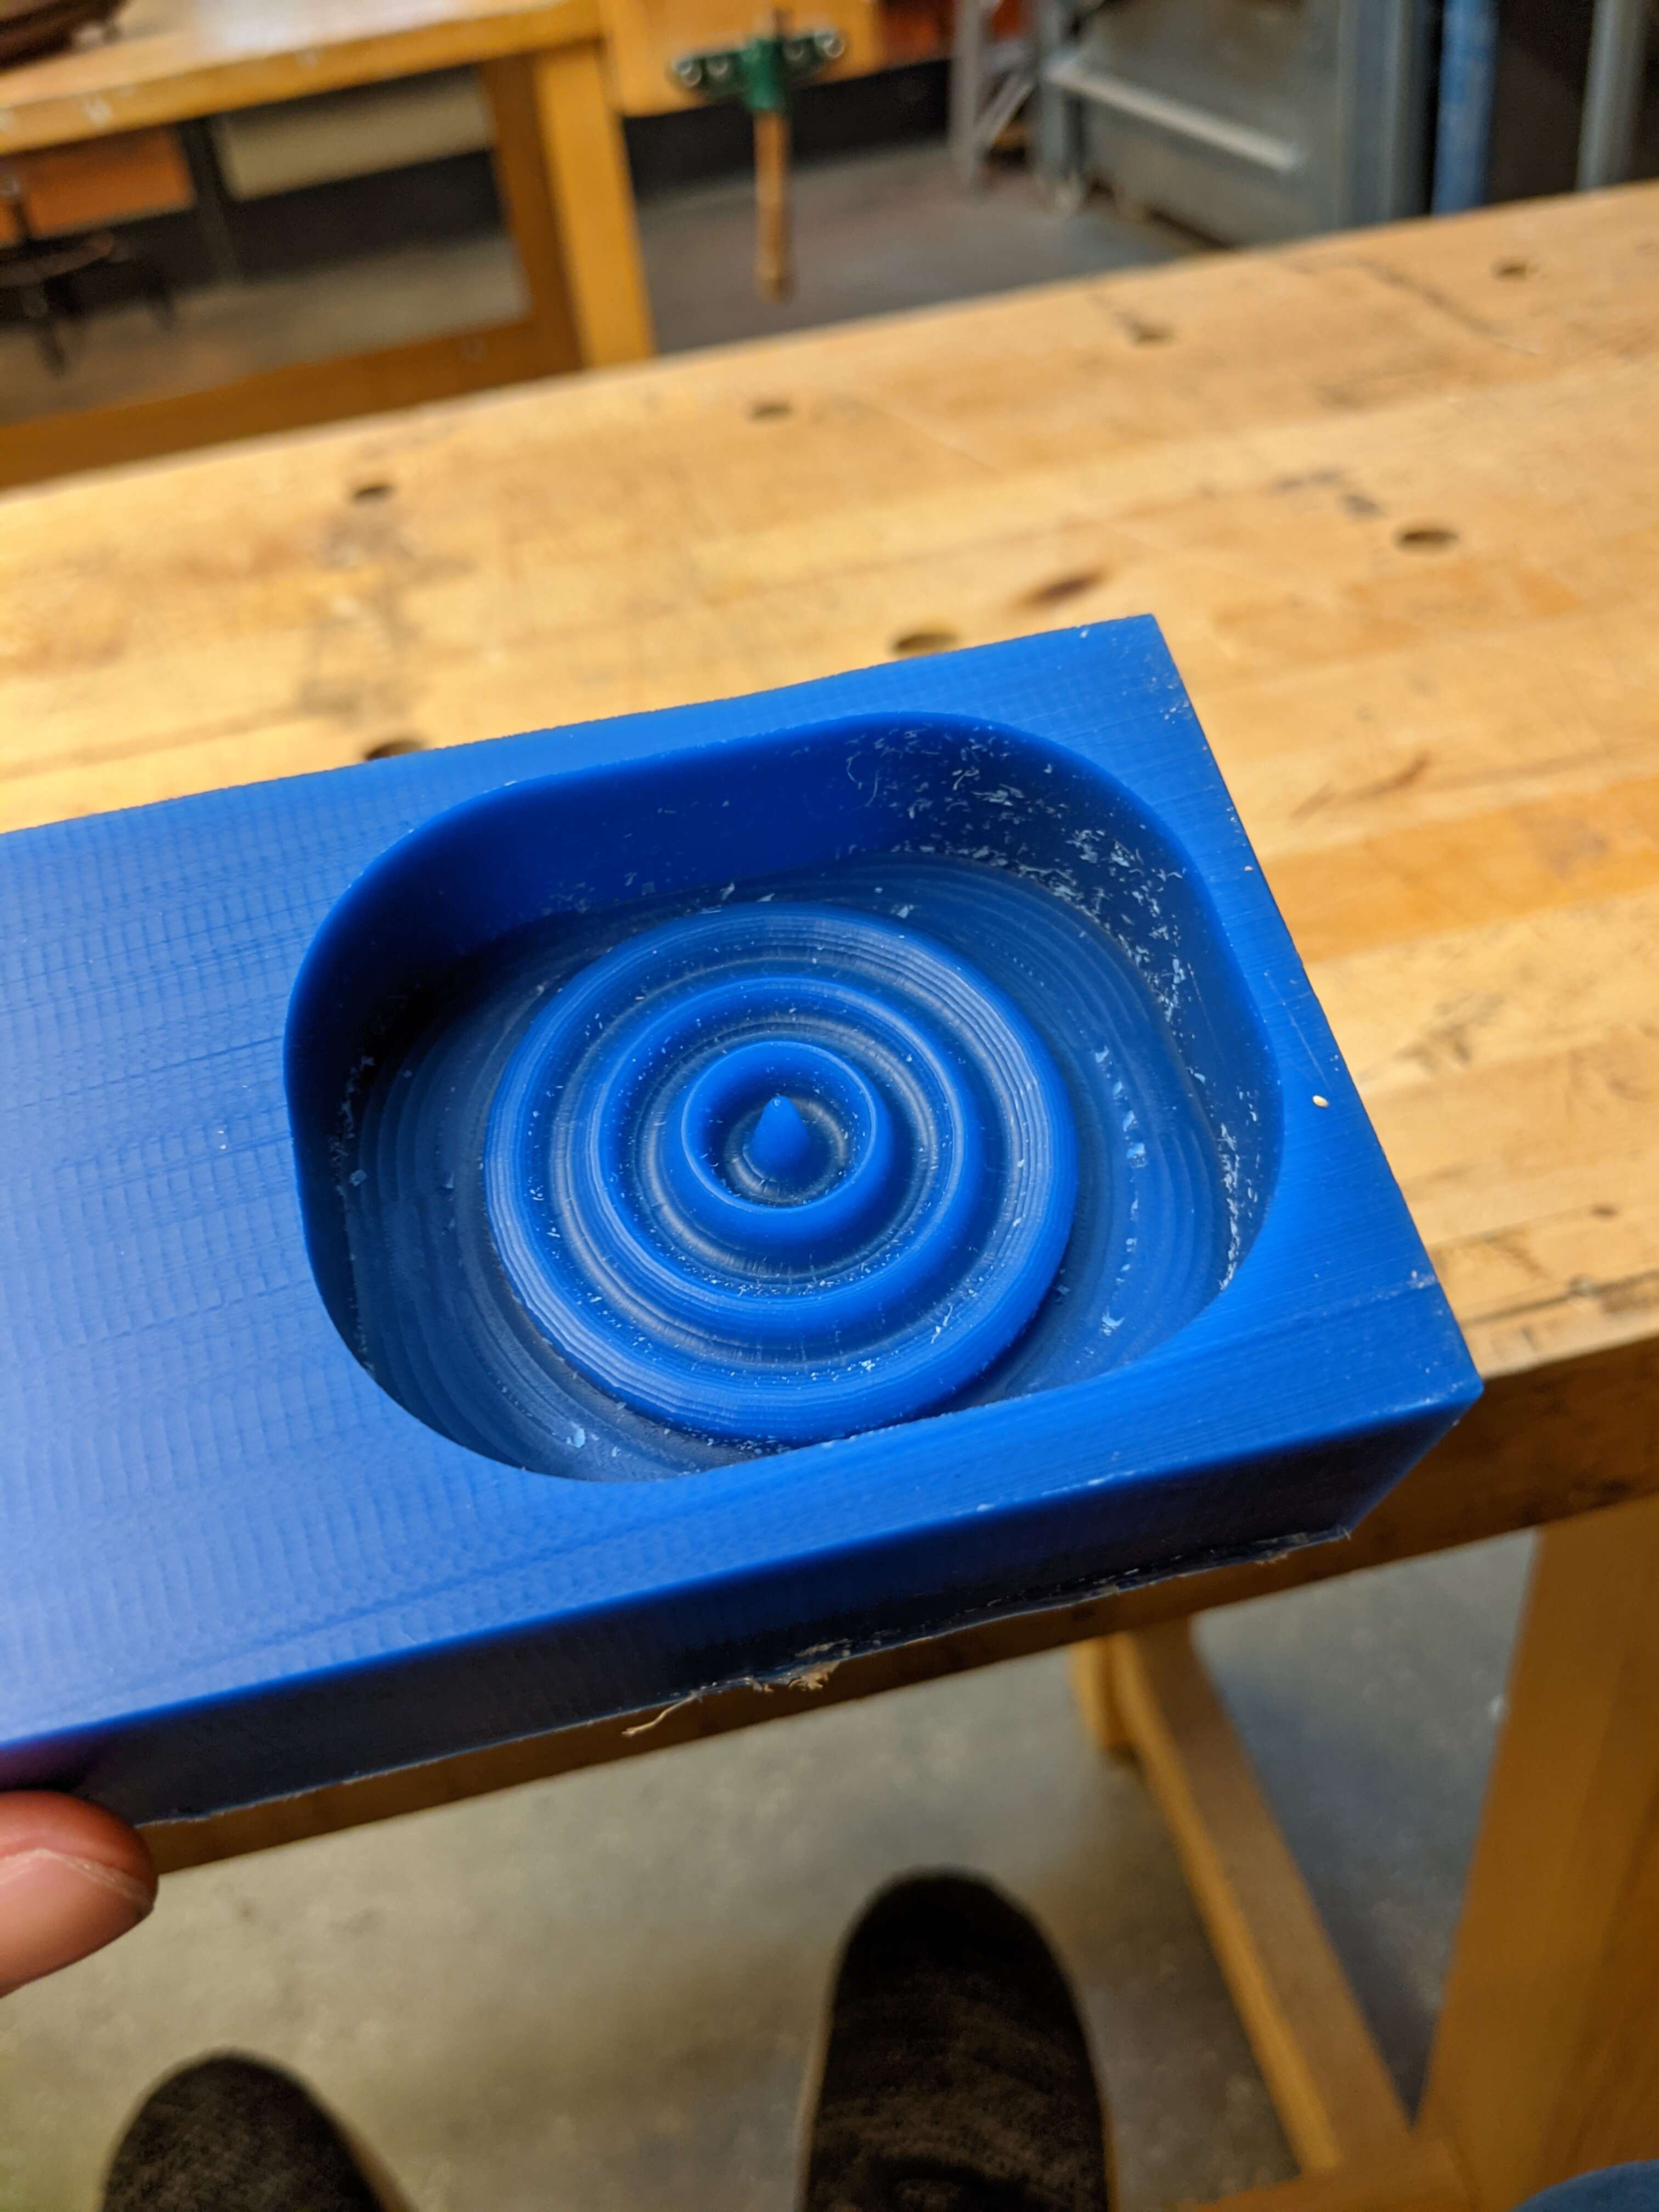
Since I wanted a hard part in the end I had to go Hard Mold -> Soft Mold -> Hard Part. This meant I used the Oomoo we had, which was very easy to work with. All I had to do was mix two parts and stir then pour.
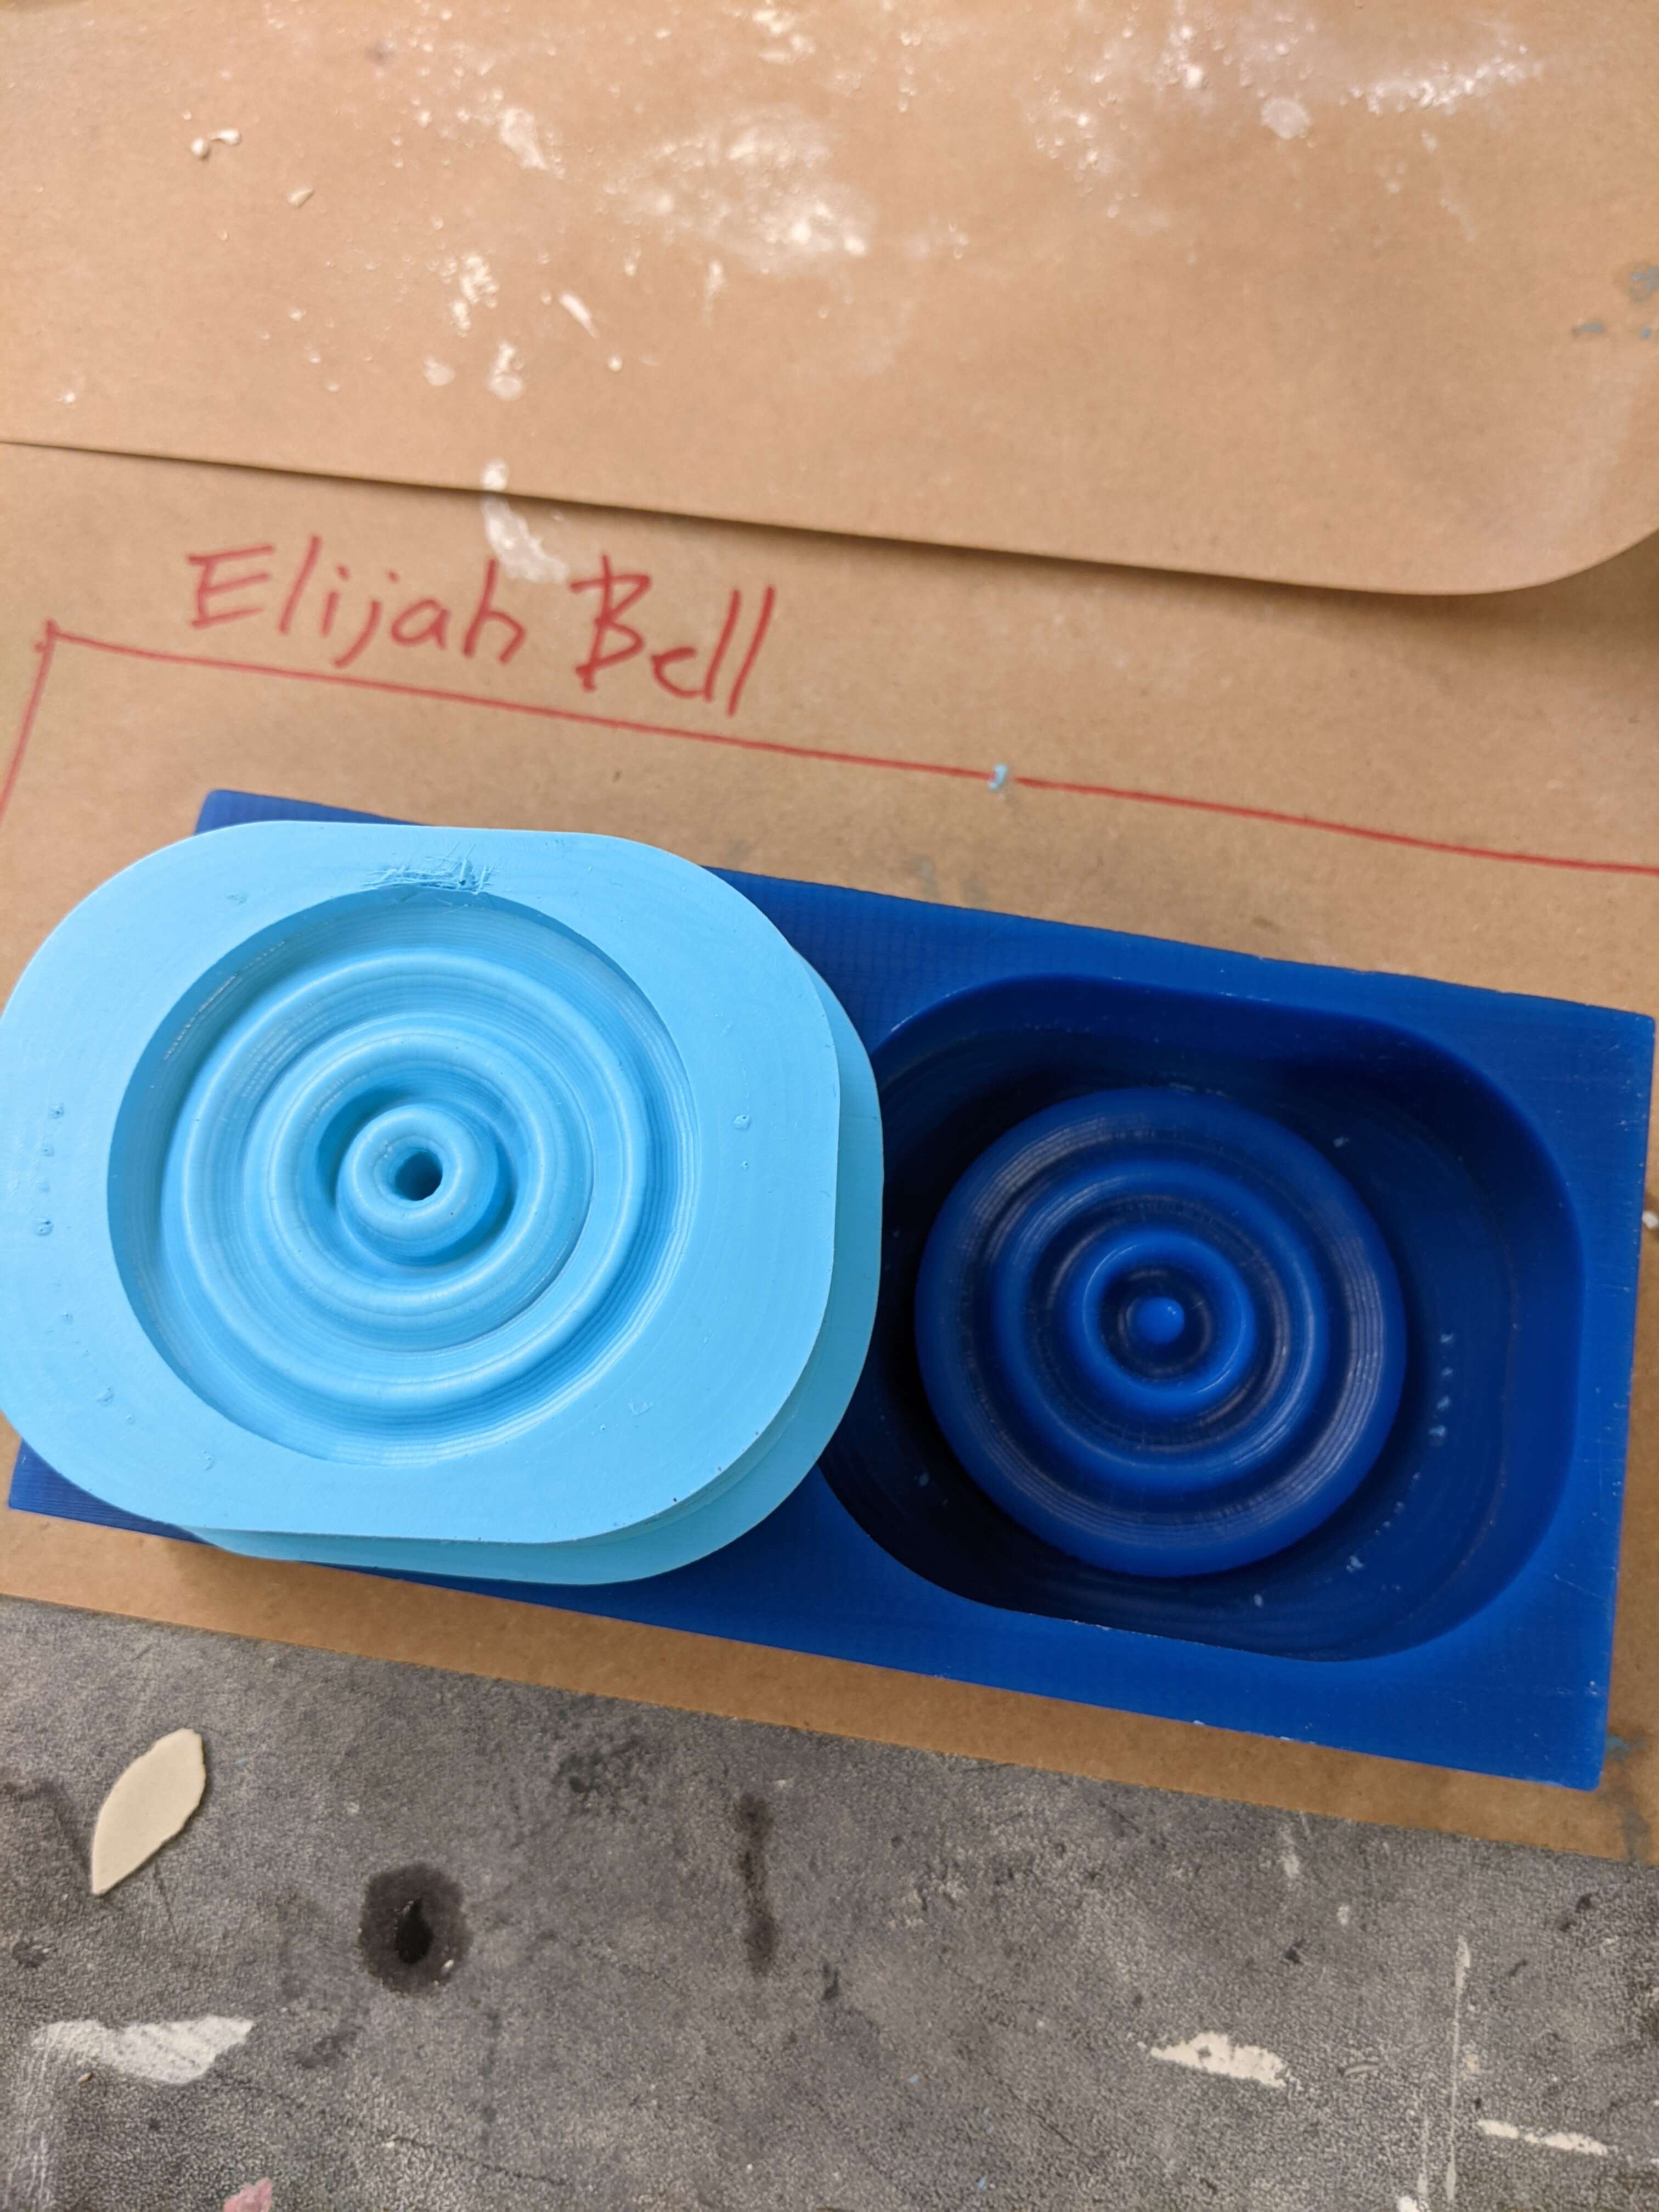
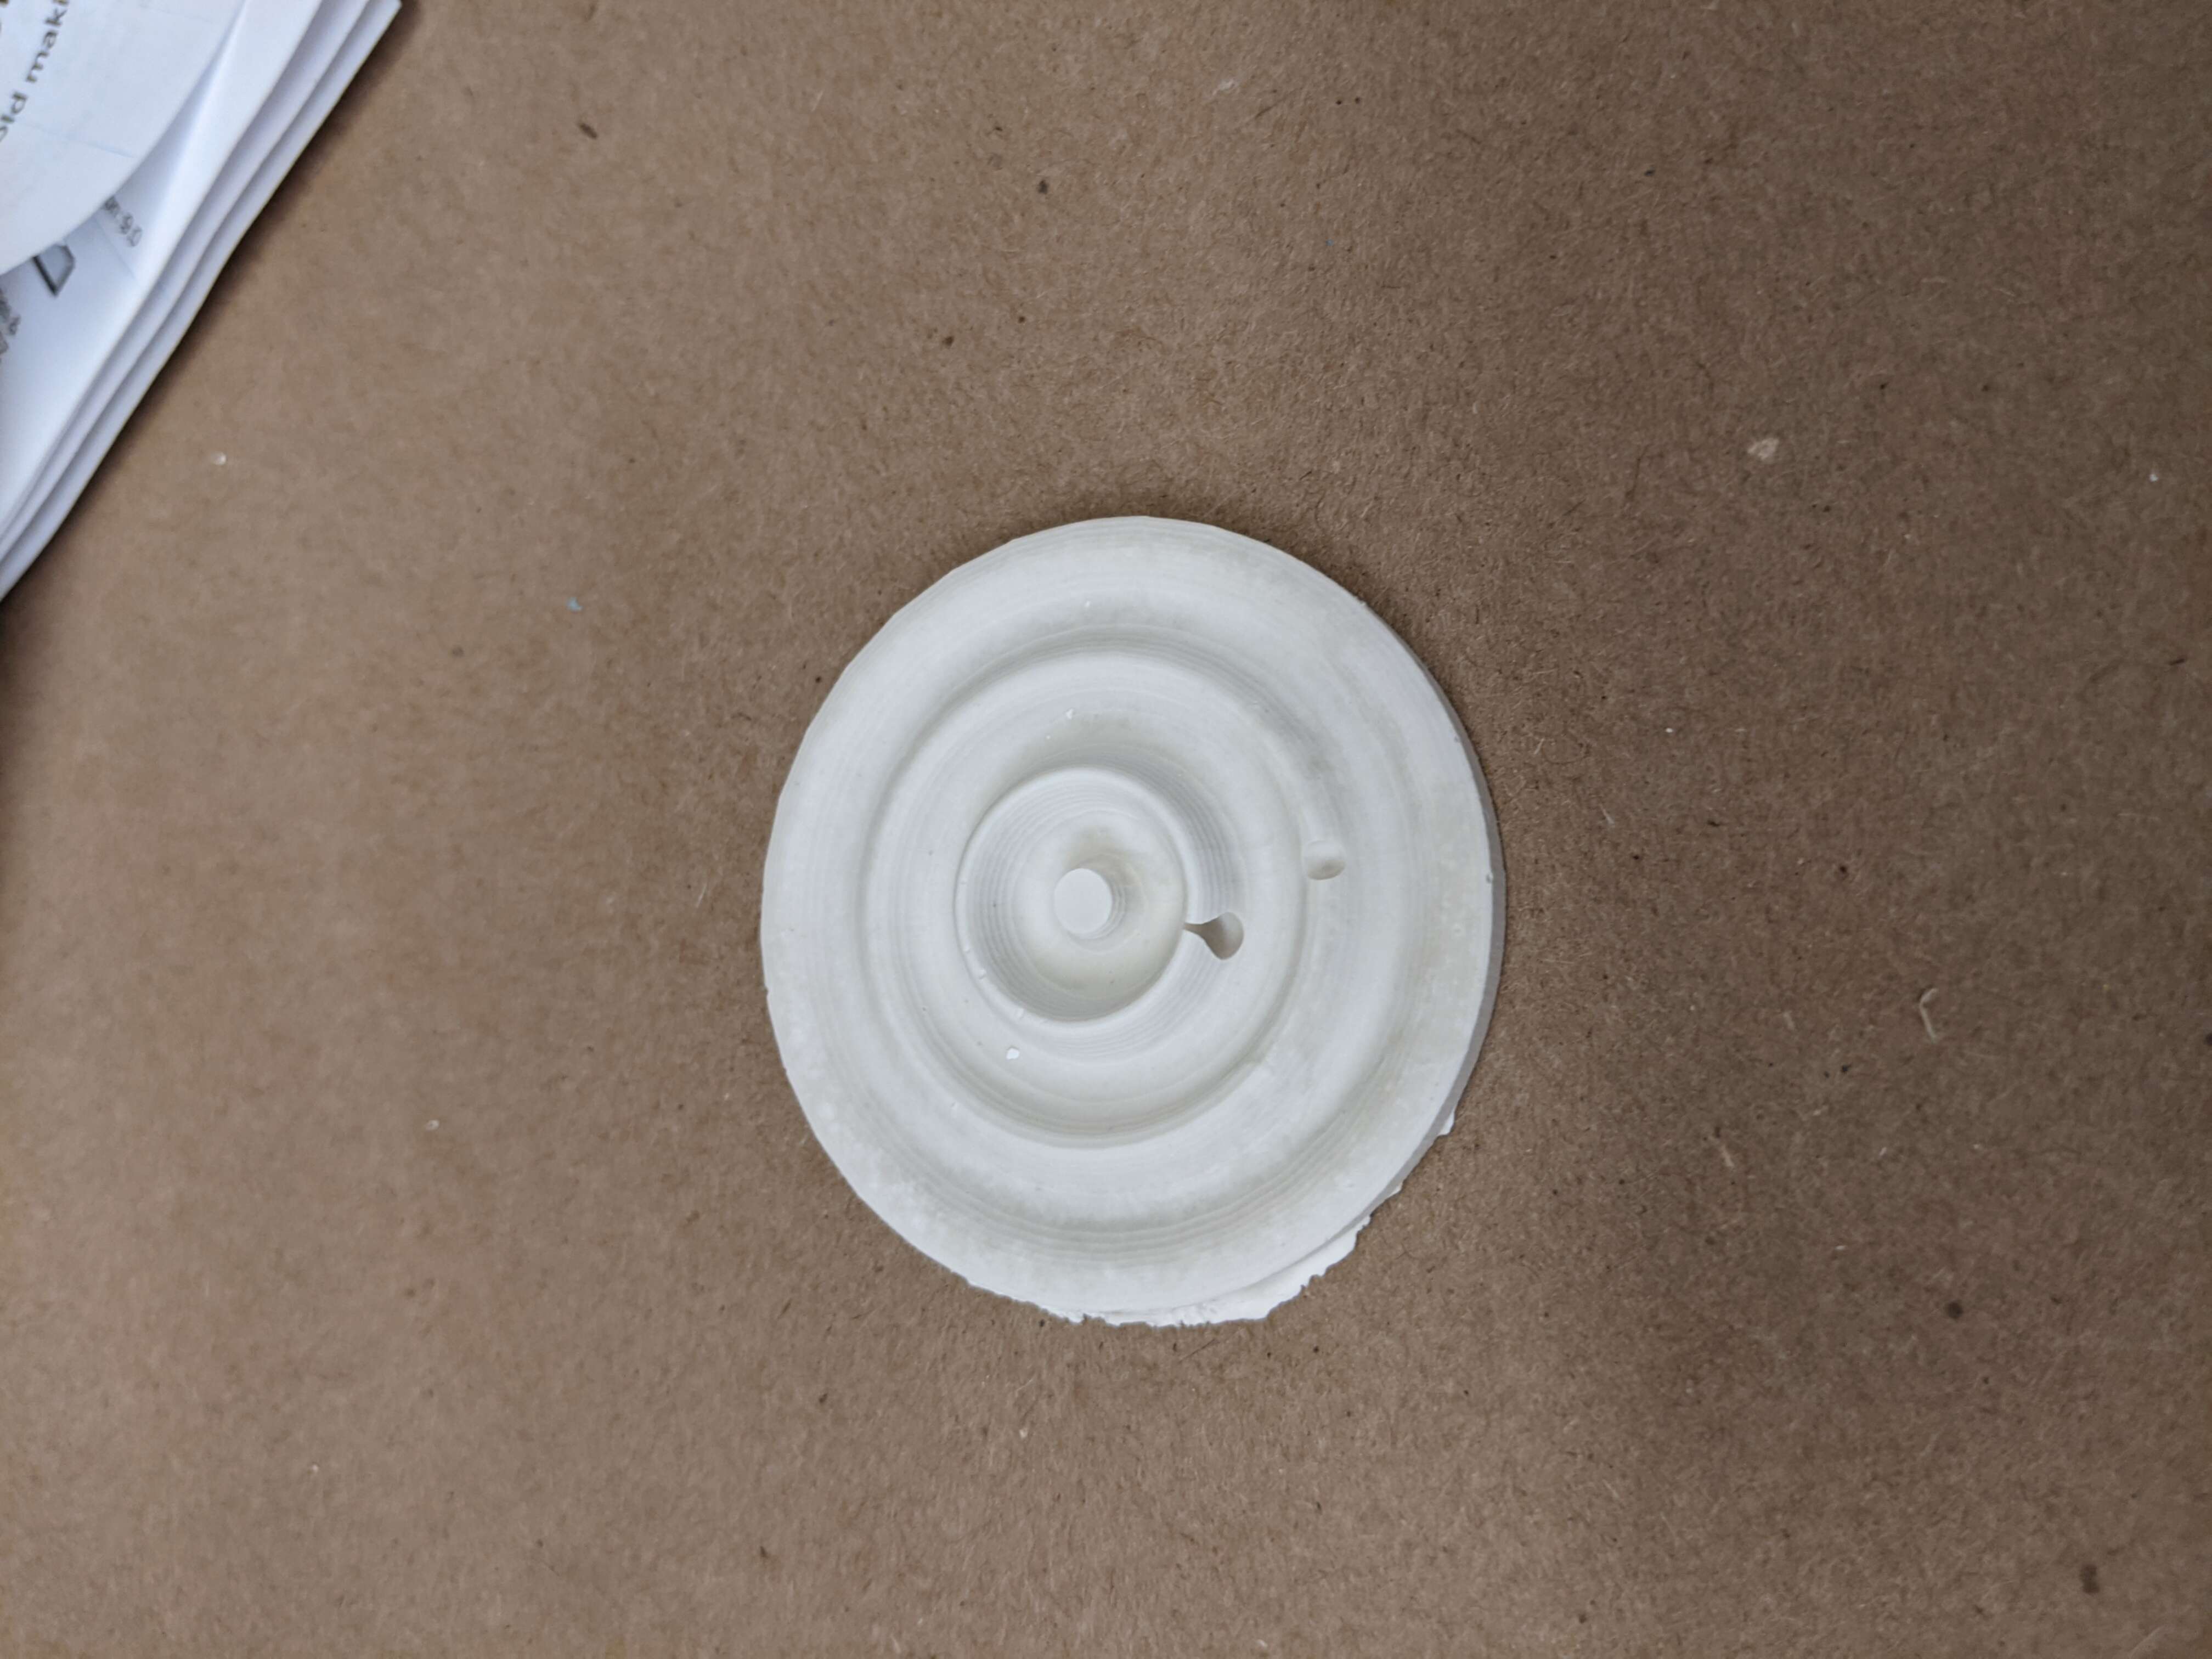
The next and final pour is hydrostone into the Oomoo mold. I was advised to make it like pancake batter, but I think I liked my pancake batter too thick, so I had bubbles even after stiring and shaking and tapping. The stuff sets fast so I didn't have to wait that long to try again, and got a good pour on the second attempt. The following photo is the failed attempt.
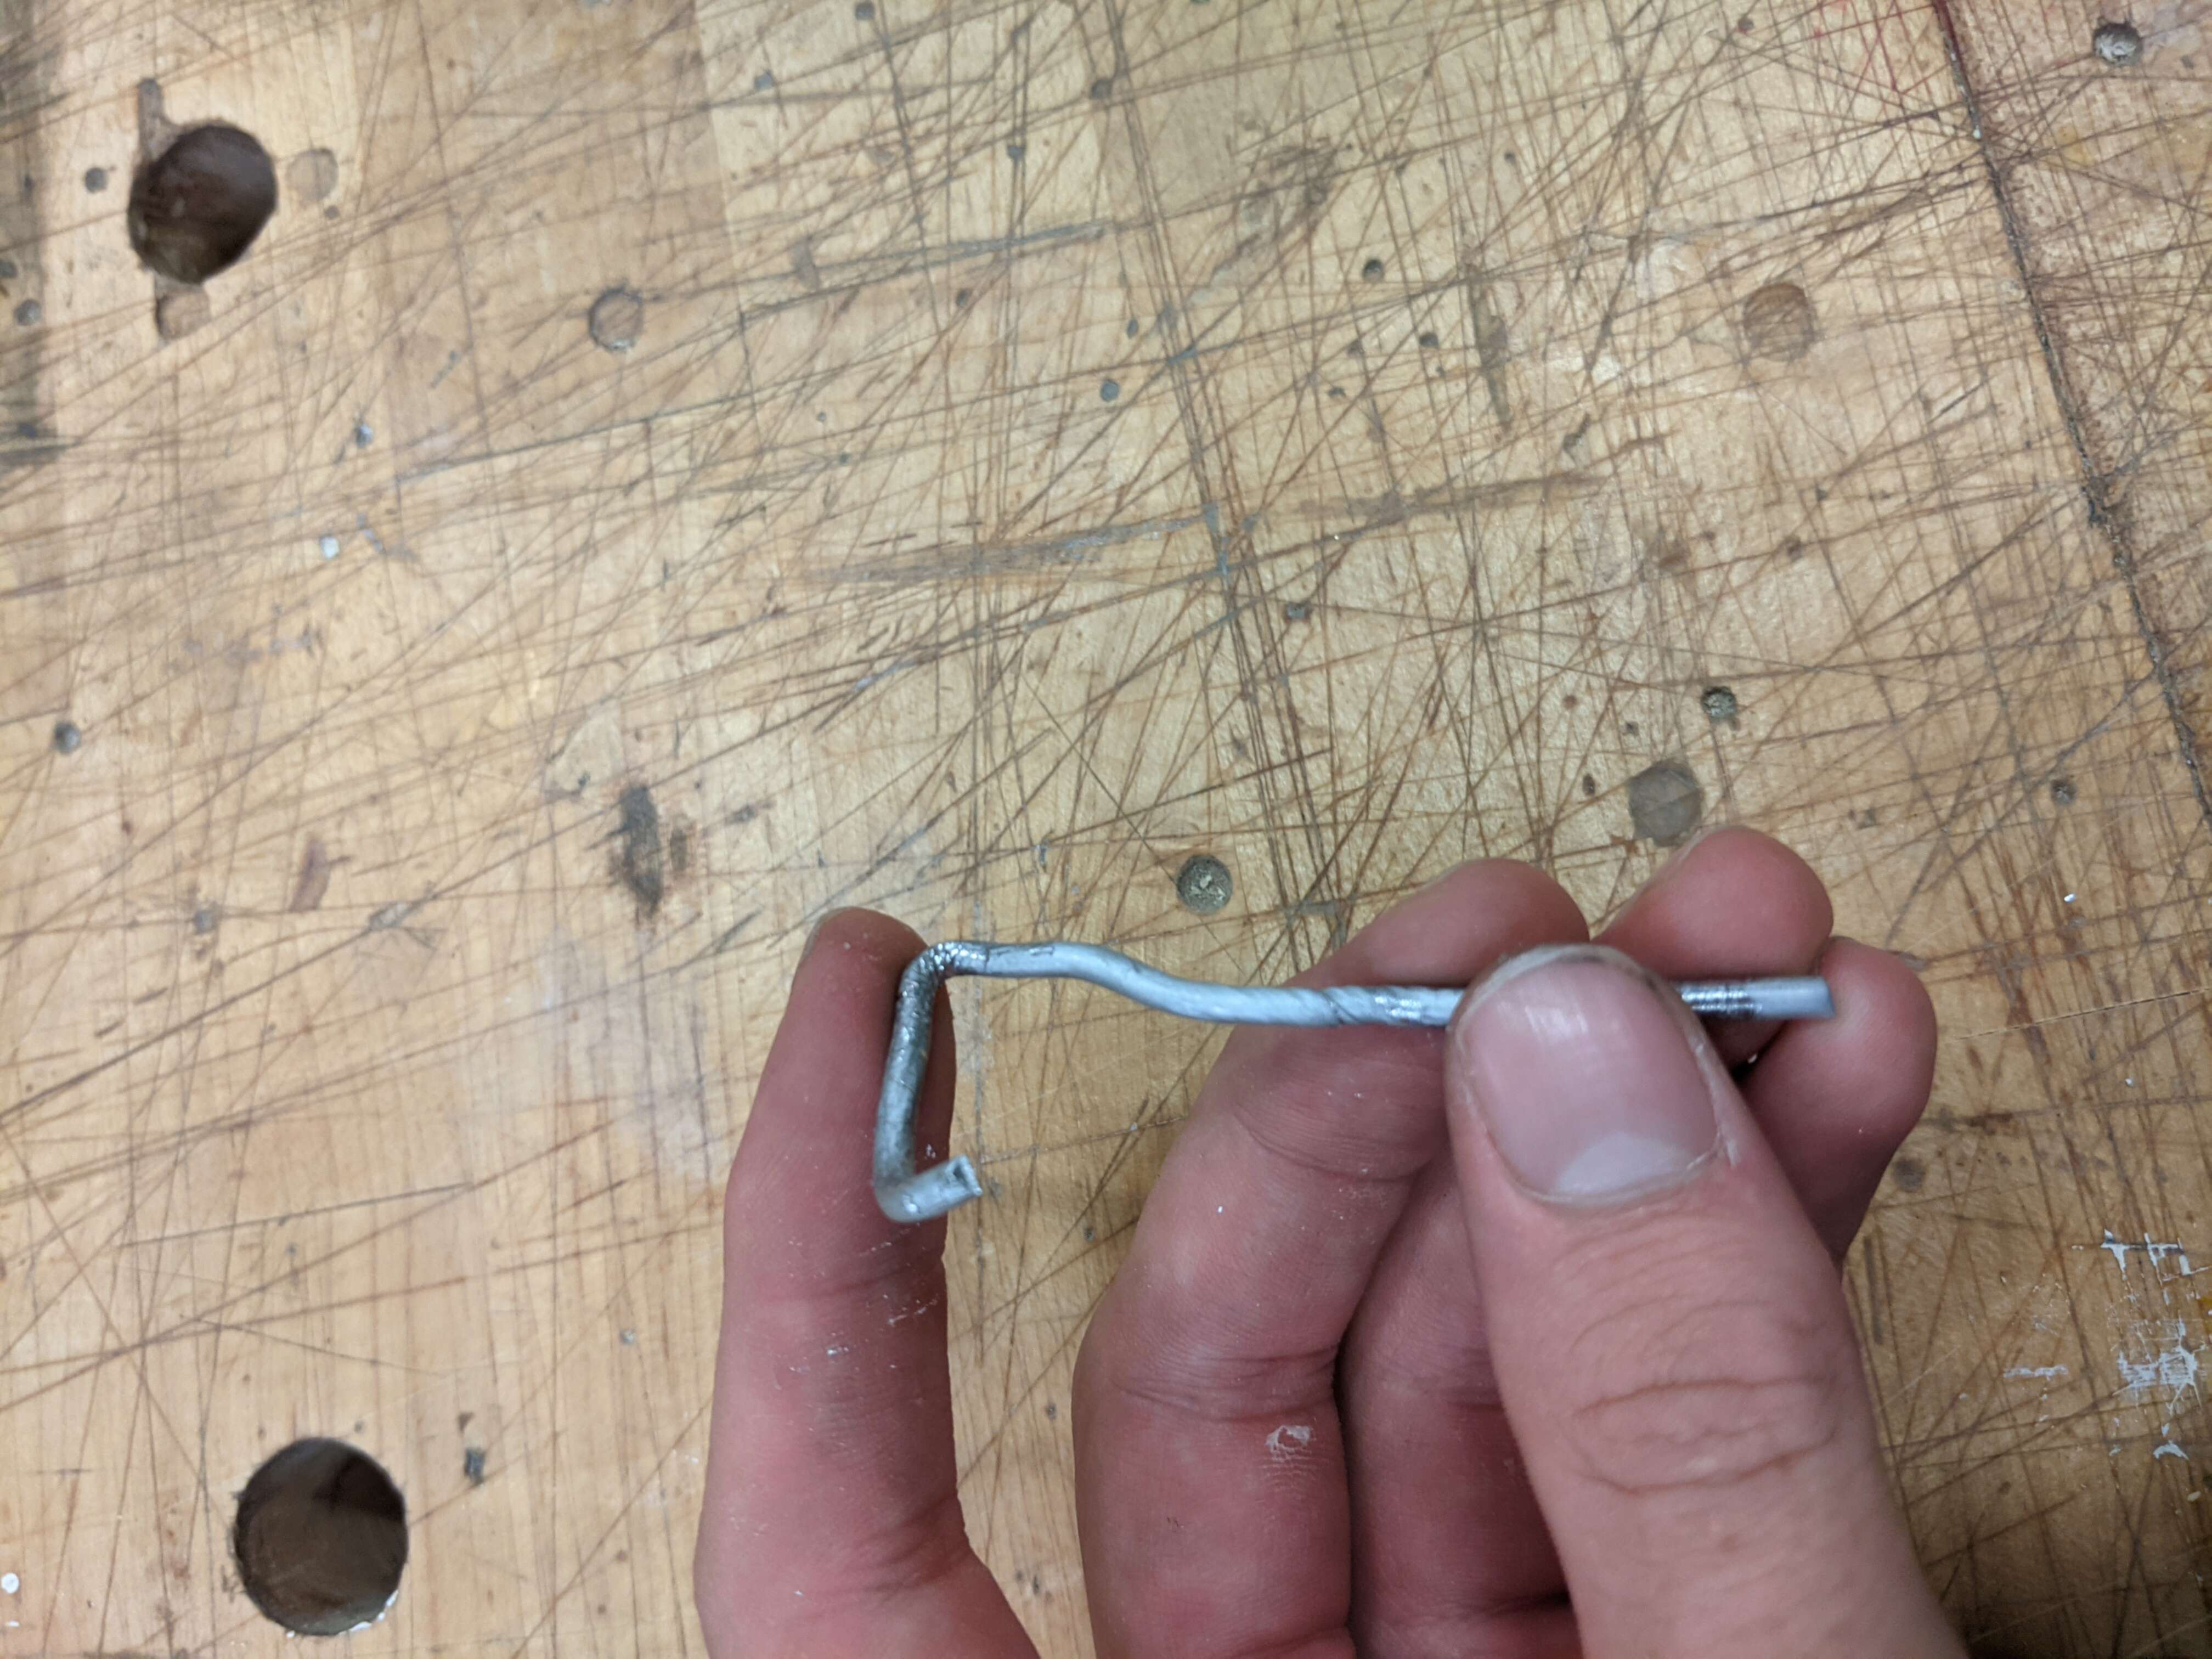
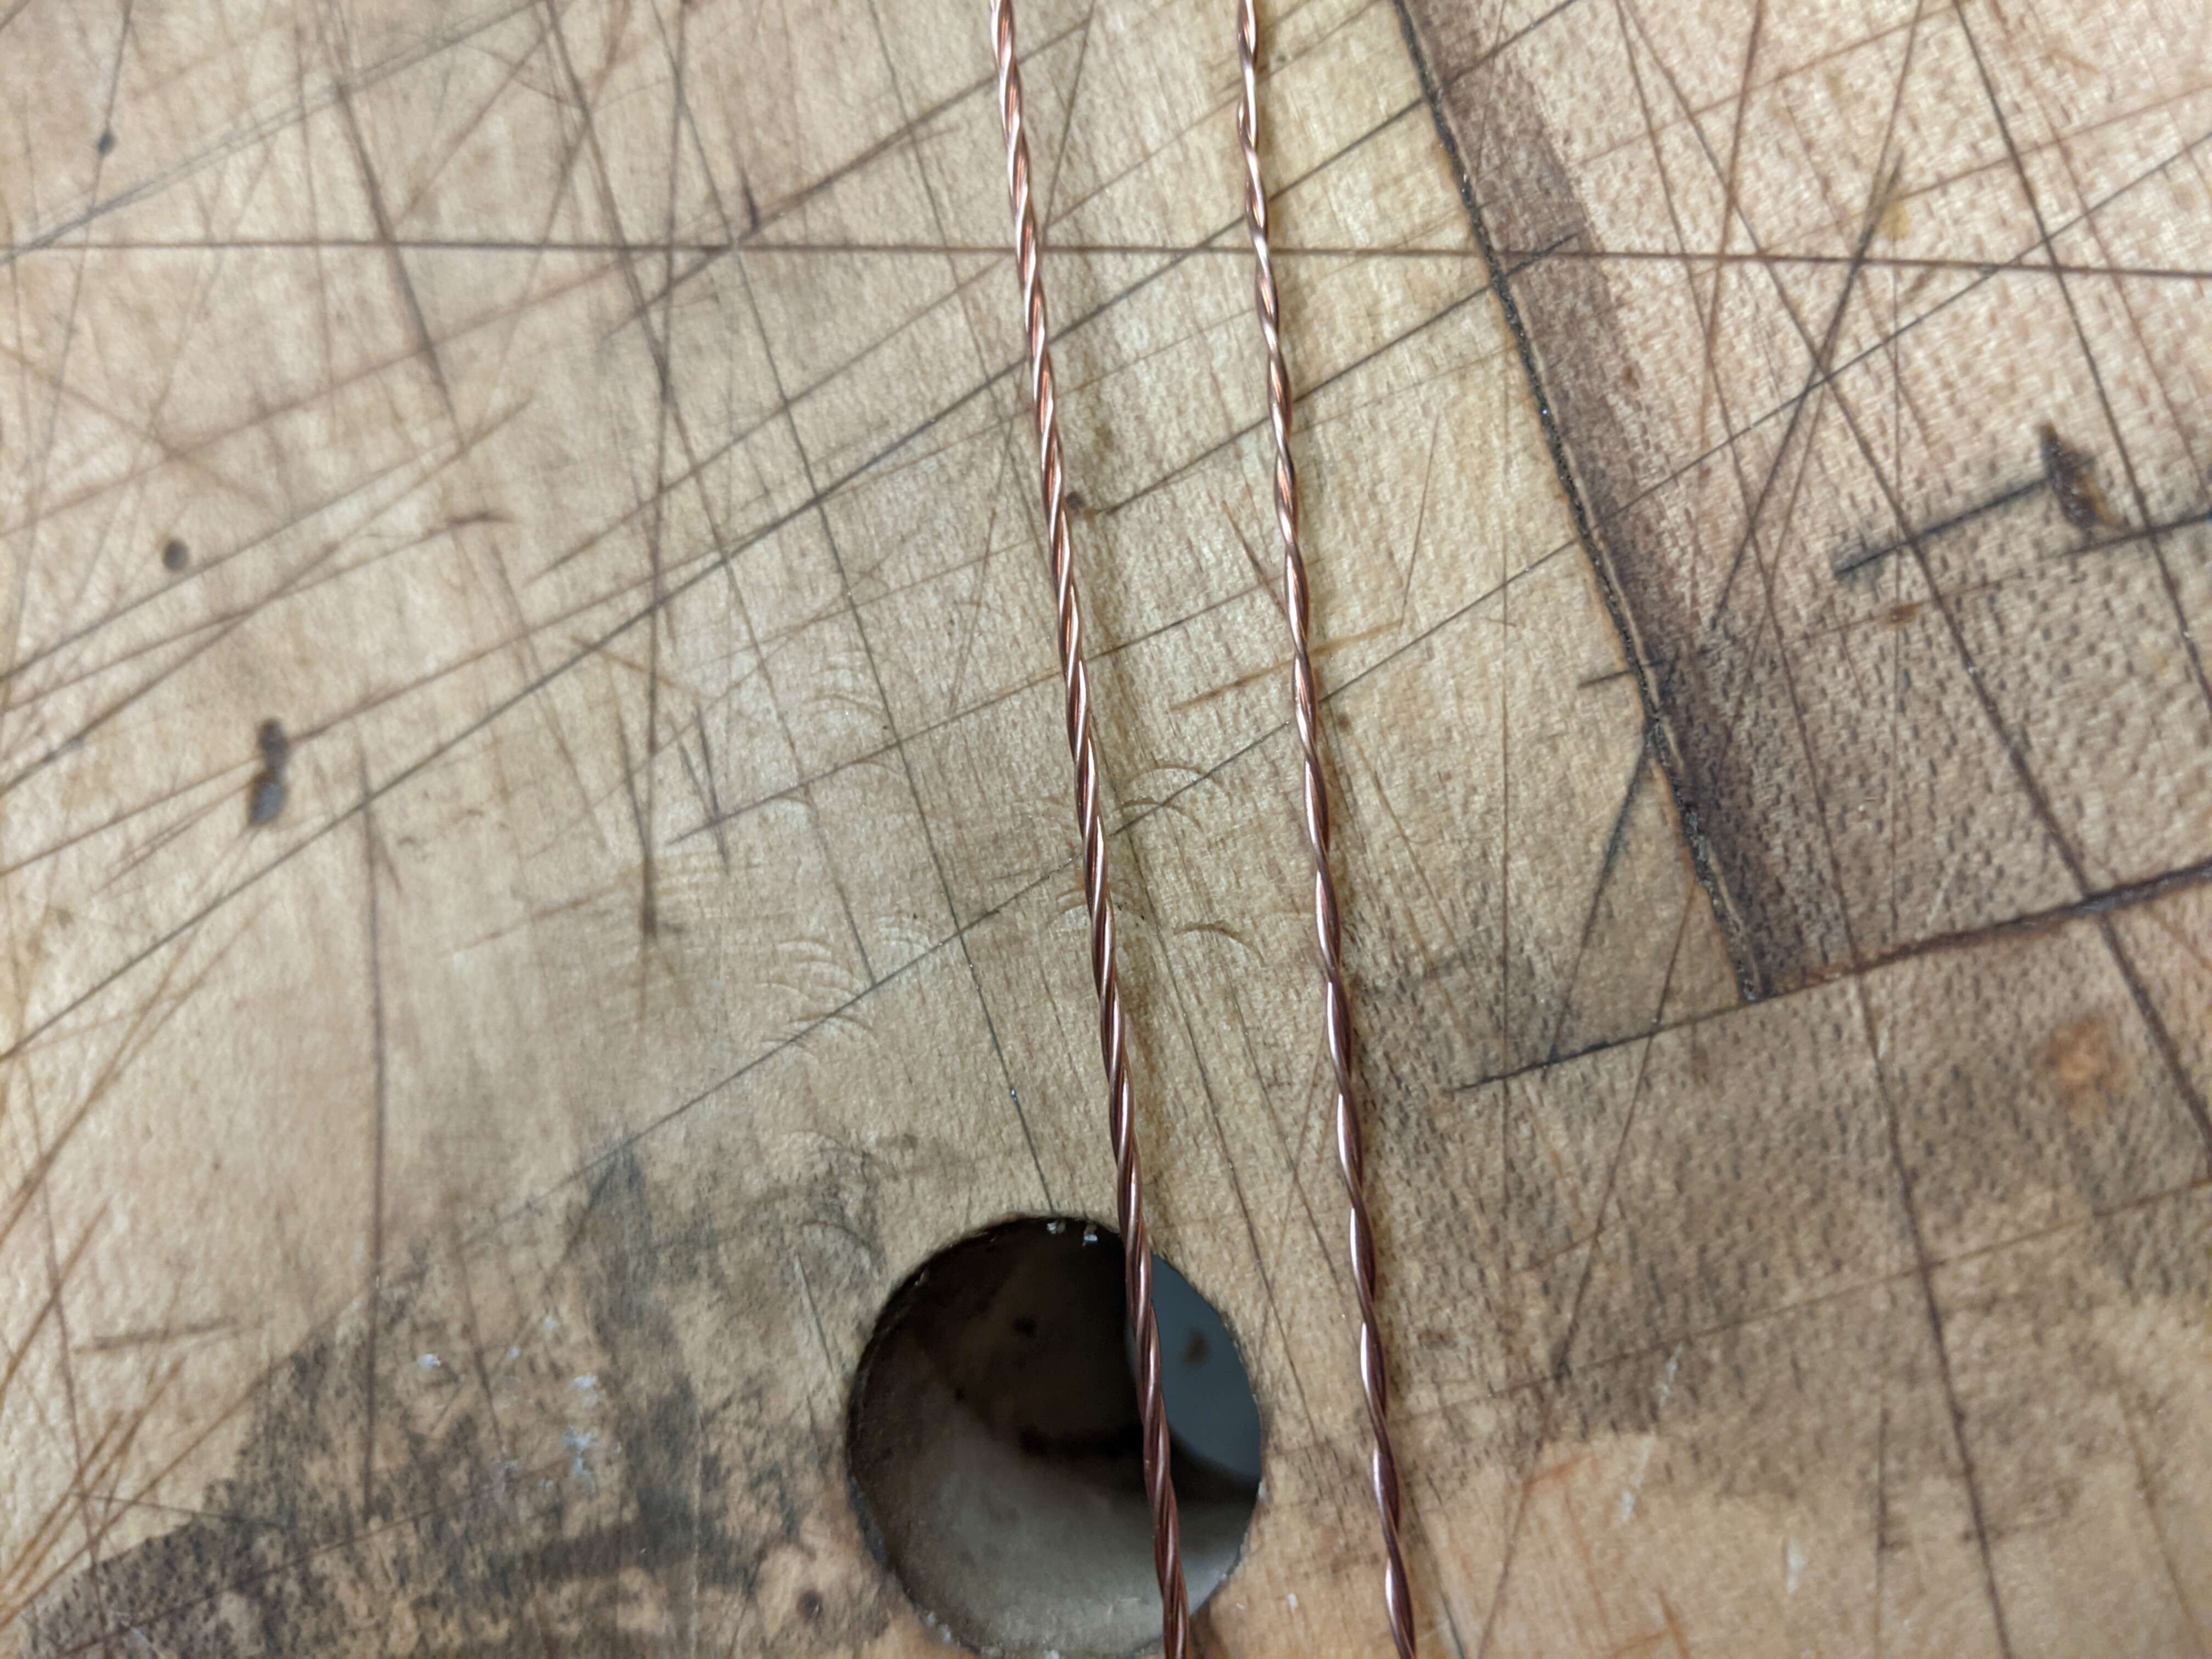
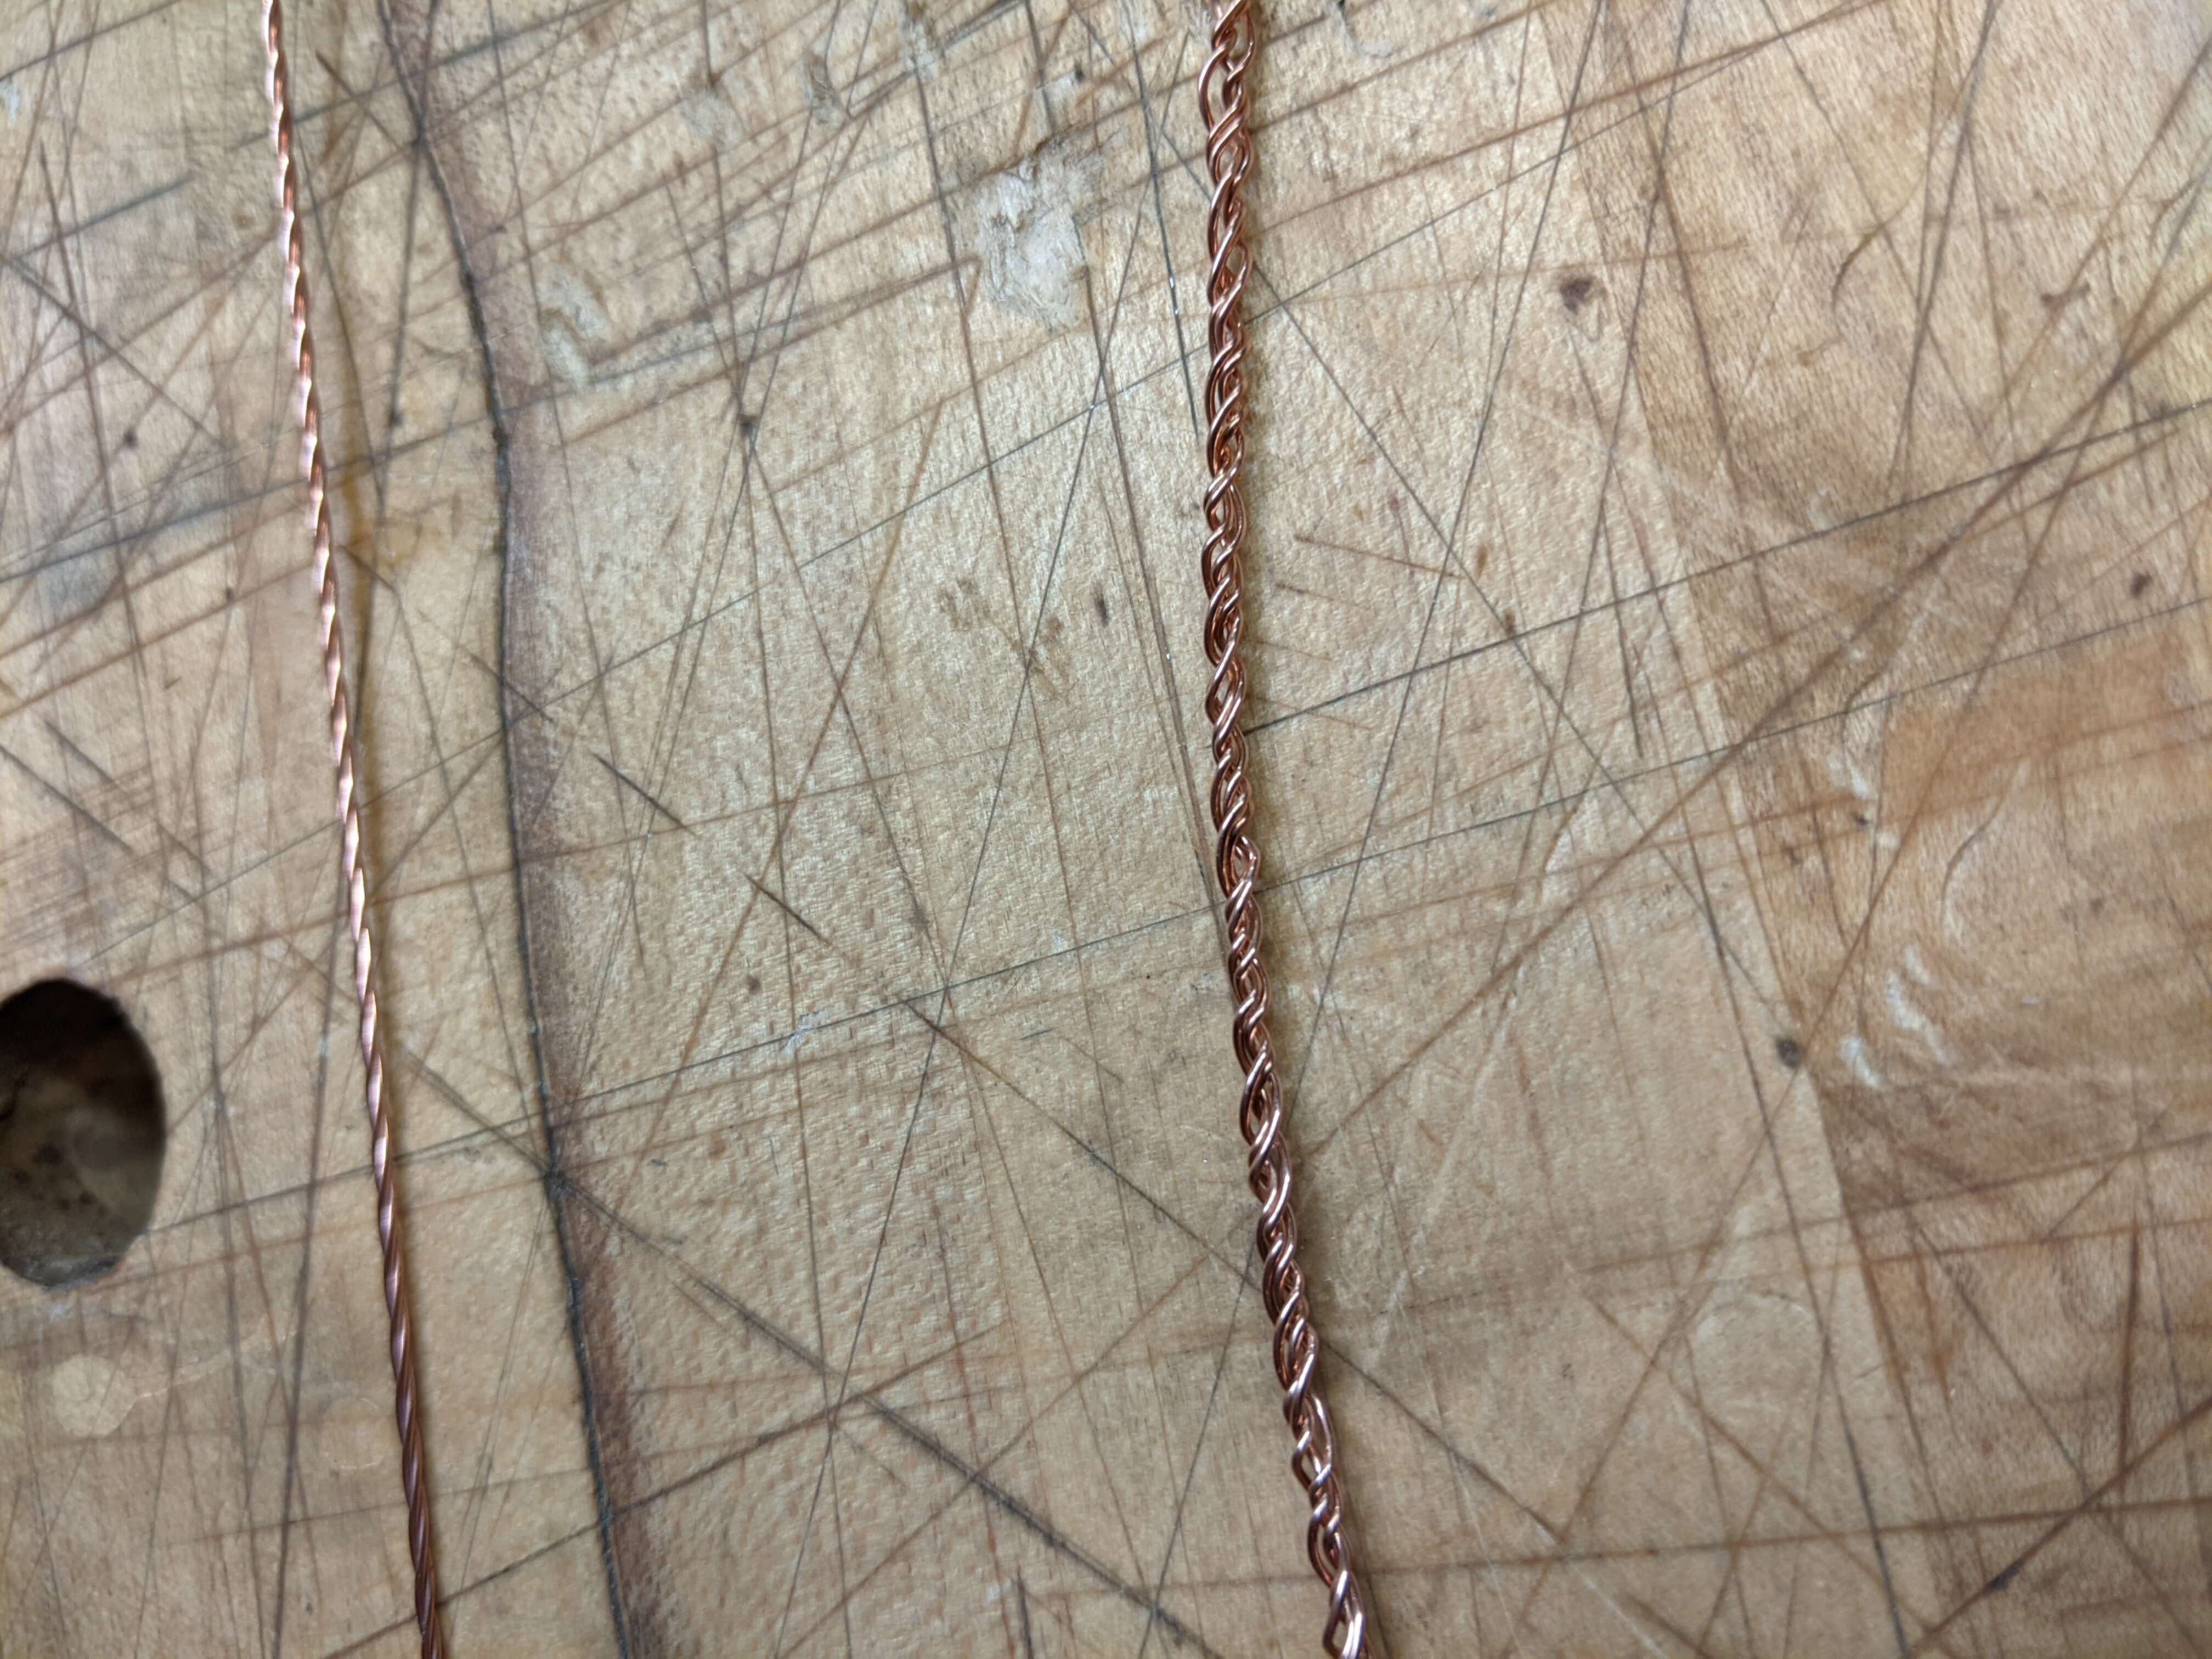
I saw some really thin copper wire in the architecture shop that is probably for a specific purpose but I thought that I could twist it together to make a sort of rope. I also found a handy piece of oddly bendy metal that I used to twist it all. In the end it was too late/early so I gave up and just used what little I had made that looked nice to make it bracelet sized.
In the end, this was the final result. If you look closely, you can see the milling lines from the first mold transfered all the way to the final product.
